Noticed there are no DIYs for CH's so I thought I'd change that.
It's not completed yet as I was only able to do the basics today, so headunit panel removal, intro to door trim removal, intro to back seat removal and intro to center console removal...
Tools used:
Flat and phillips head screw drivers
Complete socket wrench set
Cloth
Bit of muscle
Patient
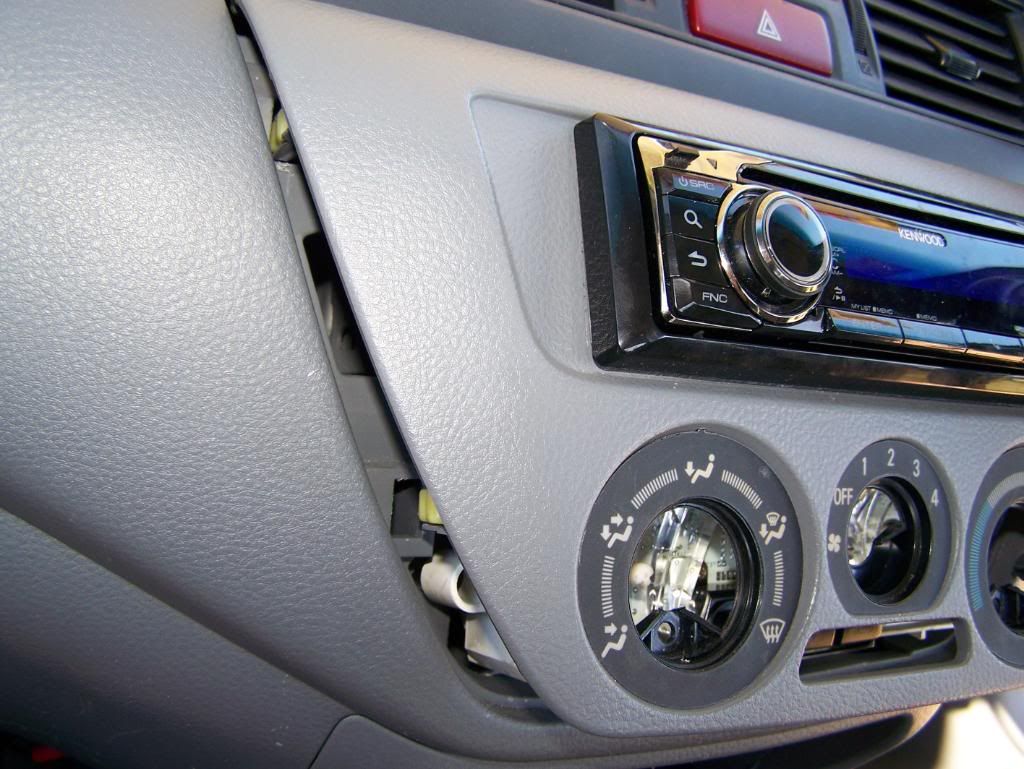
Firstly, want to install a new headunit? This is how you do it:
Before you start removing the face plate, this is what is should like:
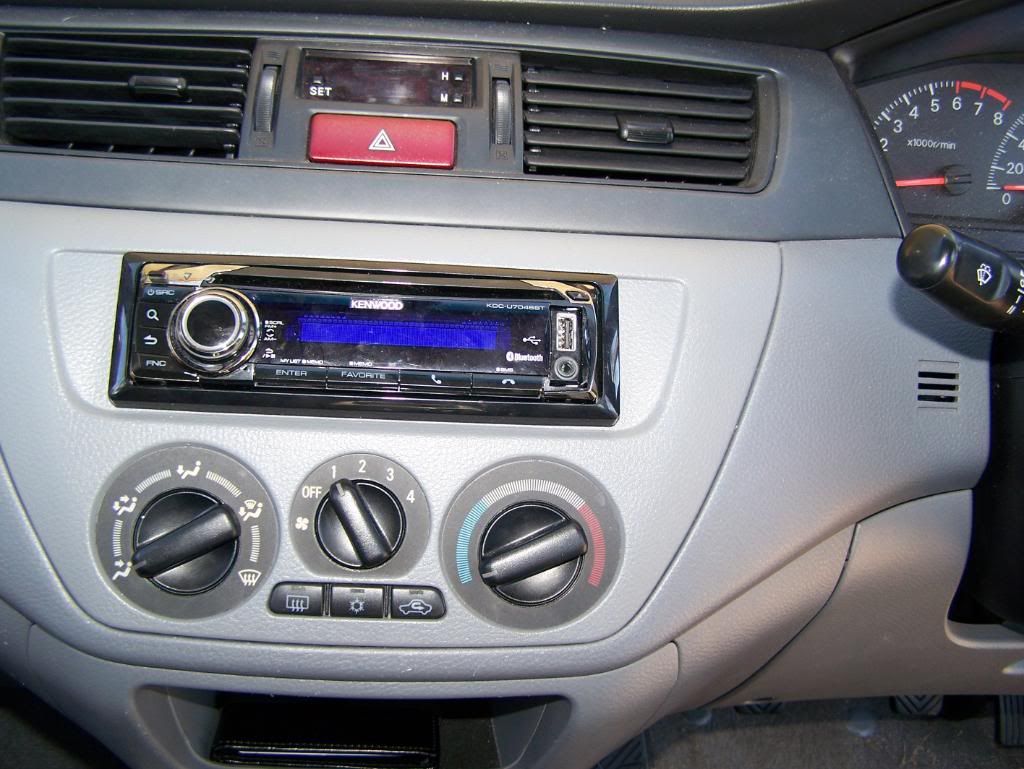
There are 3 steps to taking it off.
1st. Remove aircon 'knobs'/dials. With a little help they should just pull straight off, make sure you take all three off:
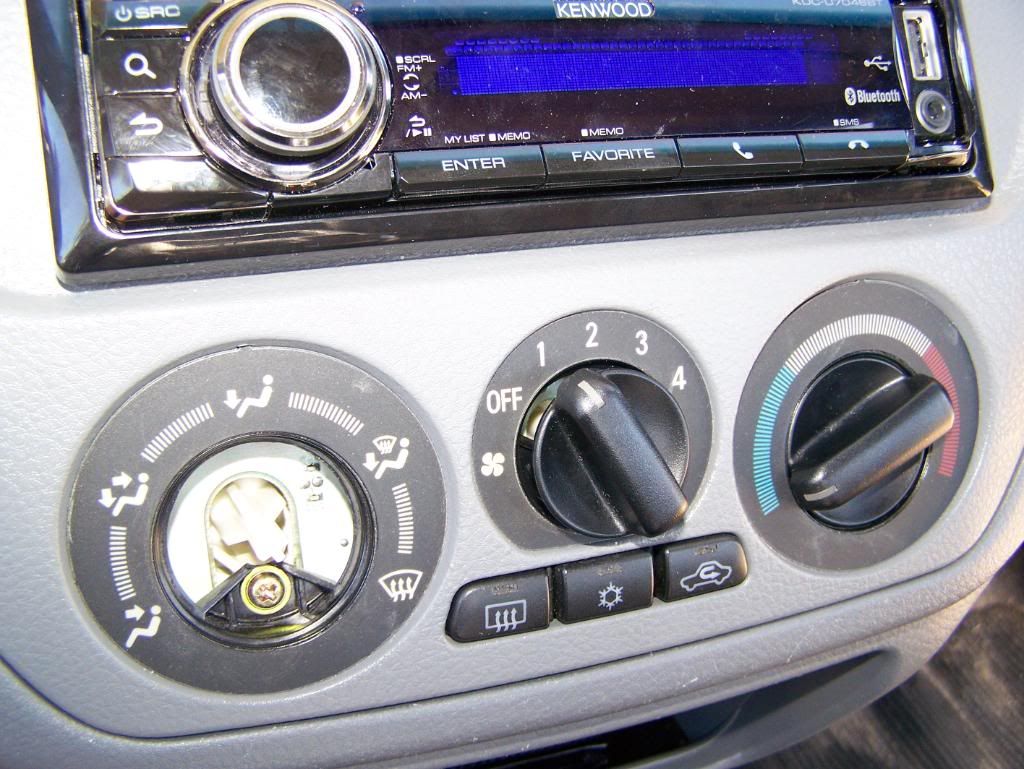
2nd. Undo screws located behind the temperature dial and mode dial, I believe they are a tad tight at first, so be careful not to strip the head.
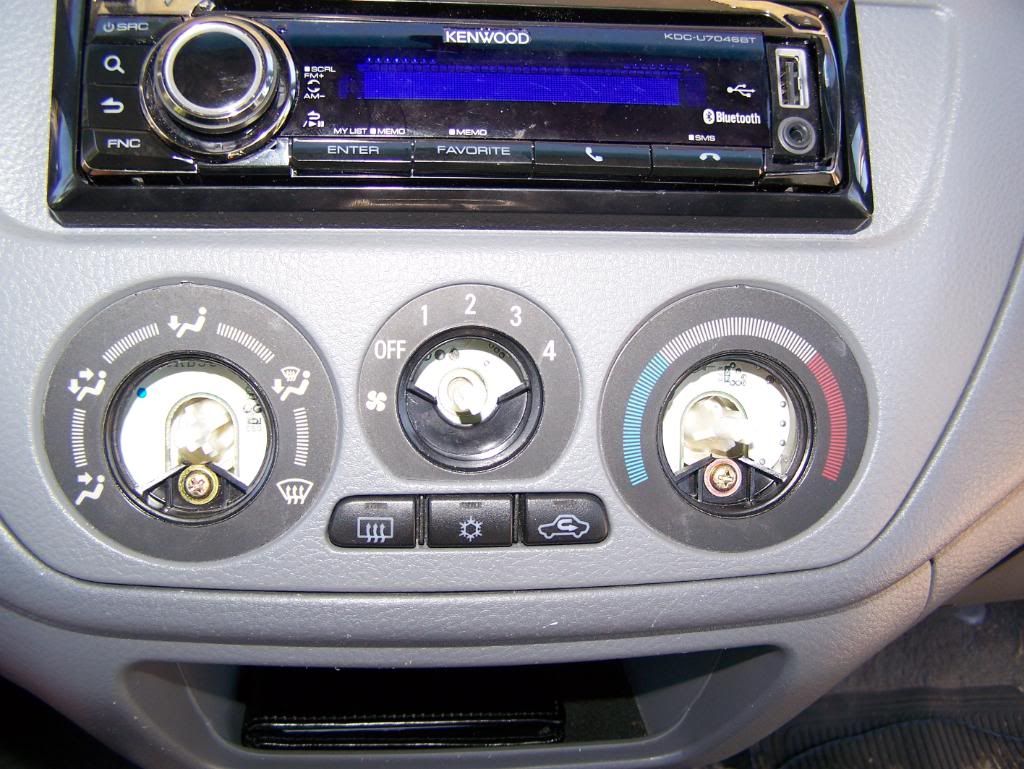
3rd. Pull on the insides of the dials, where ever you can fit your fingers, then just pull out. You'll have to use a bit of force here because it's clipped in pretty well. I find once you have the bottom of it lifted, the rest can be pulled out easily.
Thats how the face plate comes off.
To remove the oem headunit is simple. Just release it from its holding clips on the part that attaches to the face plate, don't have pictures but it's fairly easy to work out. Then just un-plug the iso plug and aerial and hey-presto no more stock hu in there.
To put you own headunit it, push out the old din older from the original holder and put yours in. It should be a tight fit, but it will fit in, push it in until it sits flush with the faceplate. From here follow your Headunit's instruction manual, since all can be different in some way. I suggest though (as would others around here) don't cut wires, it it'll make putting your oem headunit back in a pain, get an ISO adapter:
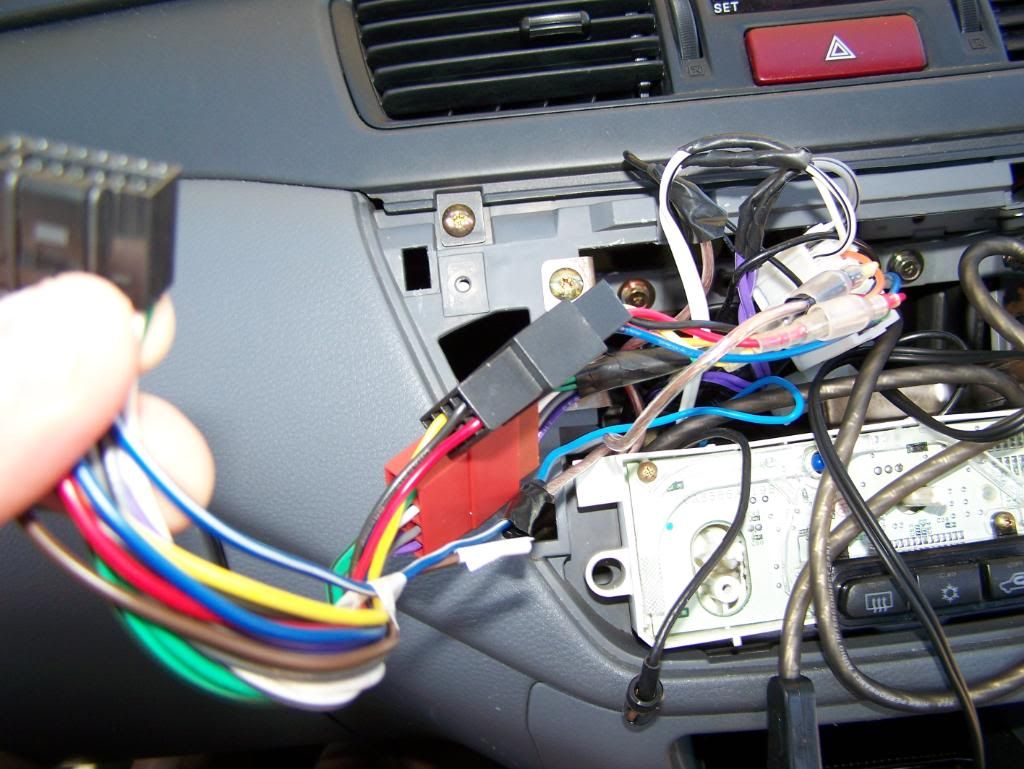
You can get them from Super Cheap Auto, Auto One and probably autobarn. There are two parts to the one i got: one part was to adapt to the mitsubishi plug, then you have to get another plug for your desired headunit.
And thats your headunit, but whilst you have your faceplate off i'll show you the AC dials globes, and how to change them.
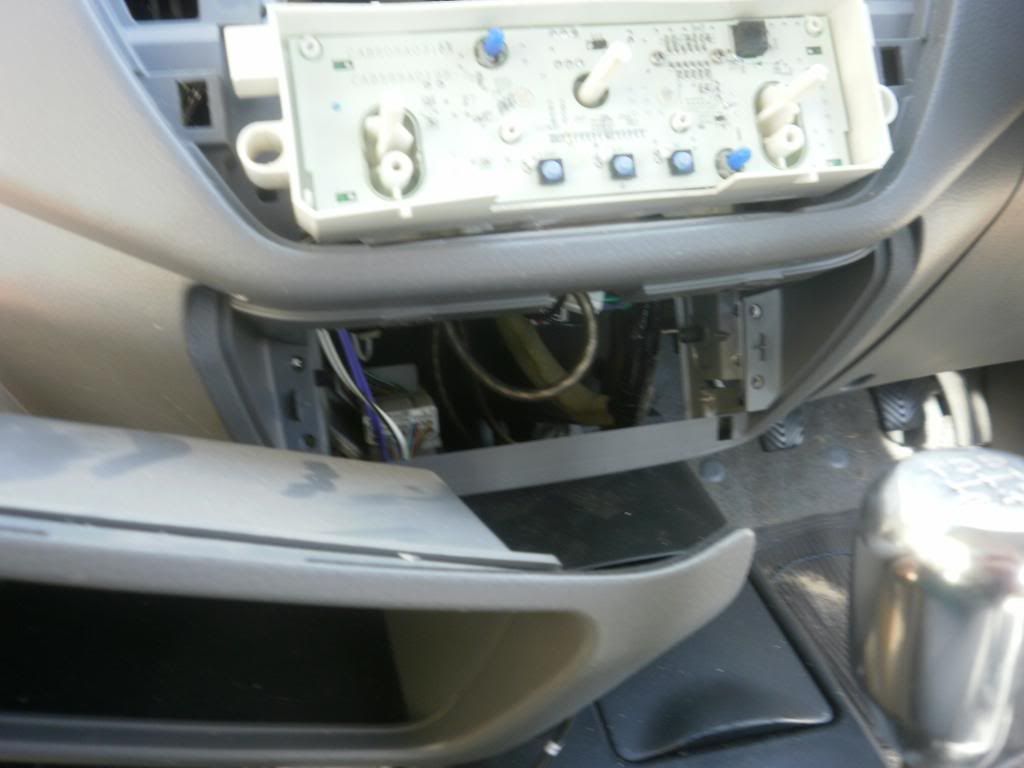
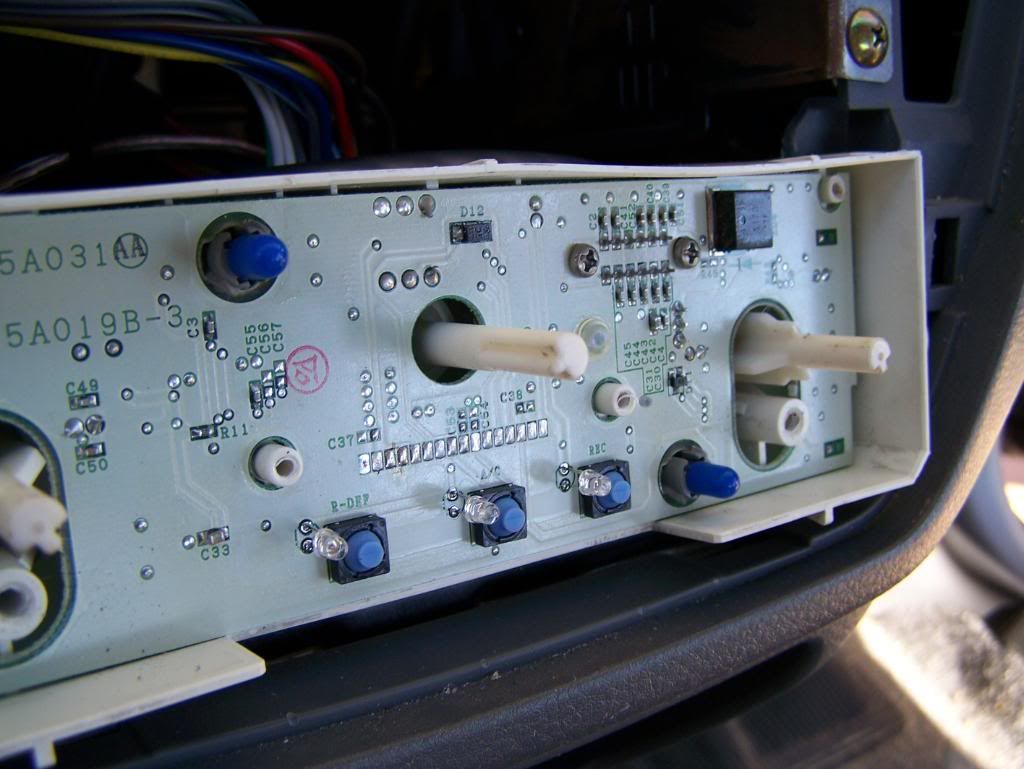
Right so with your headunit out and faceplate off you'll see this behind where the ac sits:
Again 3 steps to do the globes:
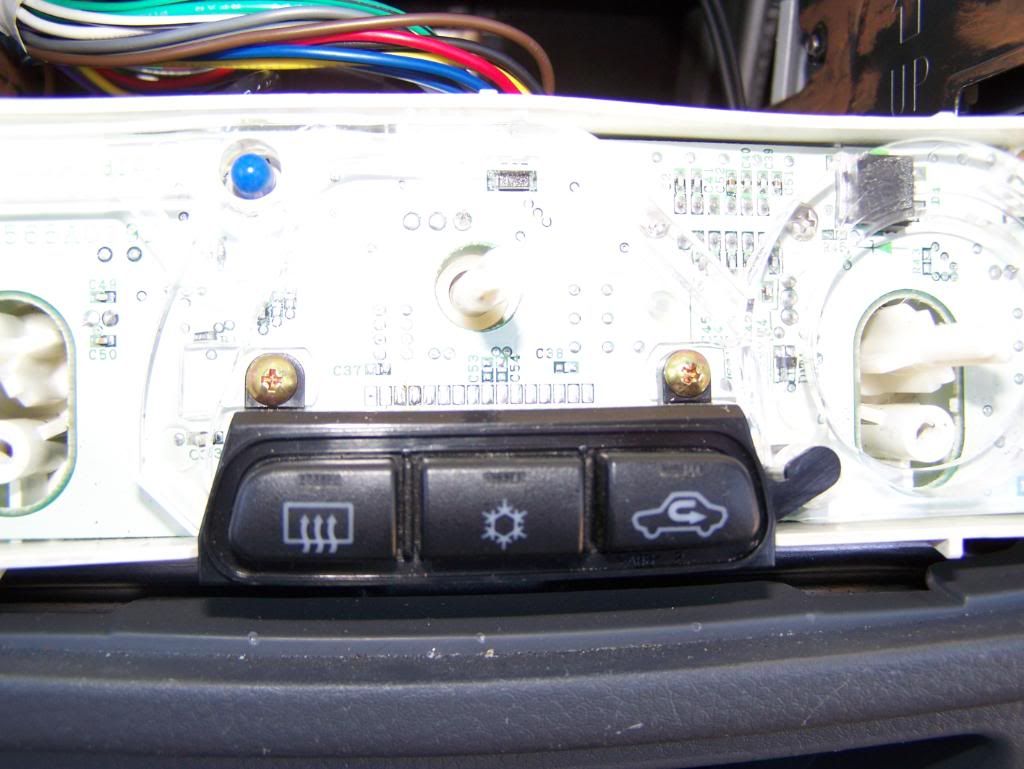
1st, remove De-fogger, AC and recirc buttons by removing the two screws above them (see pic above):
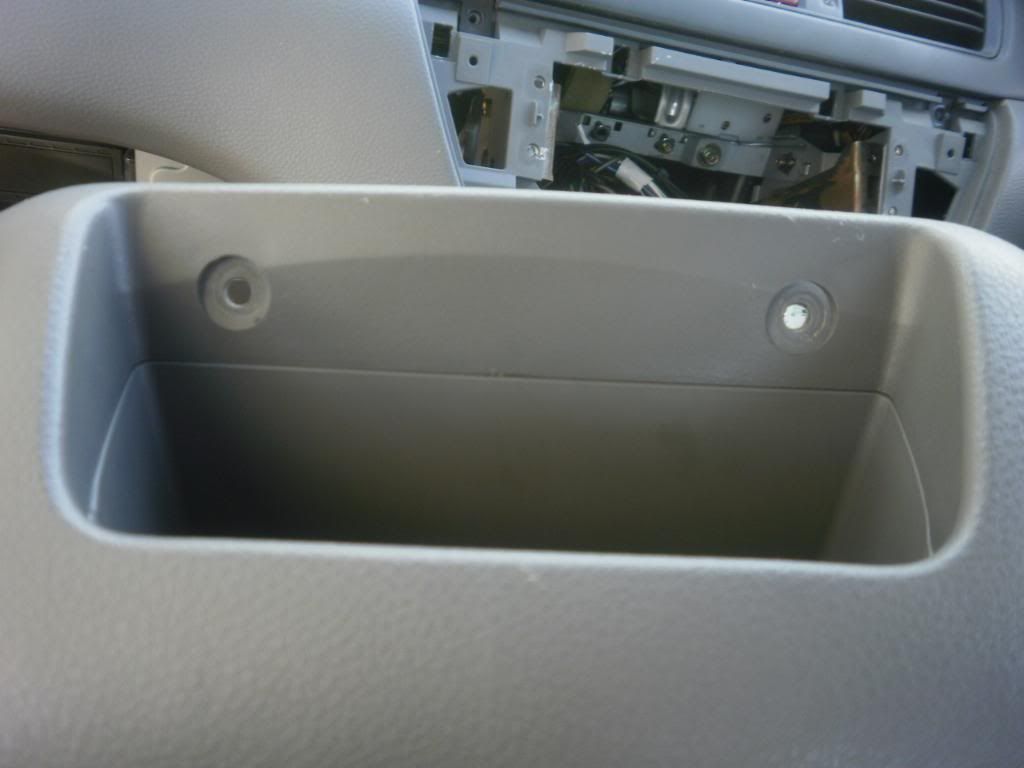
You end up with that.
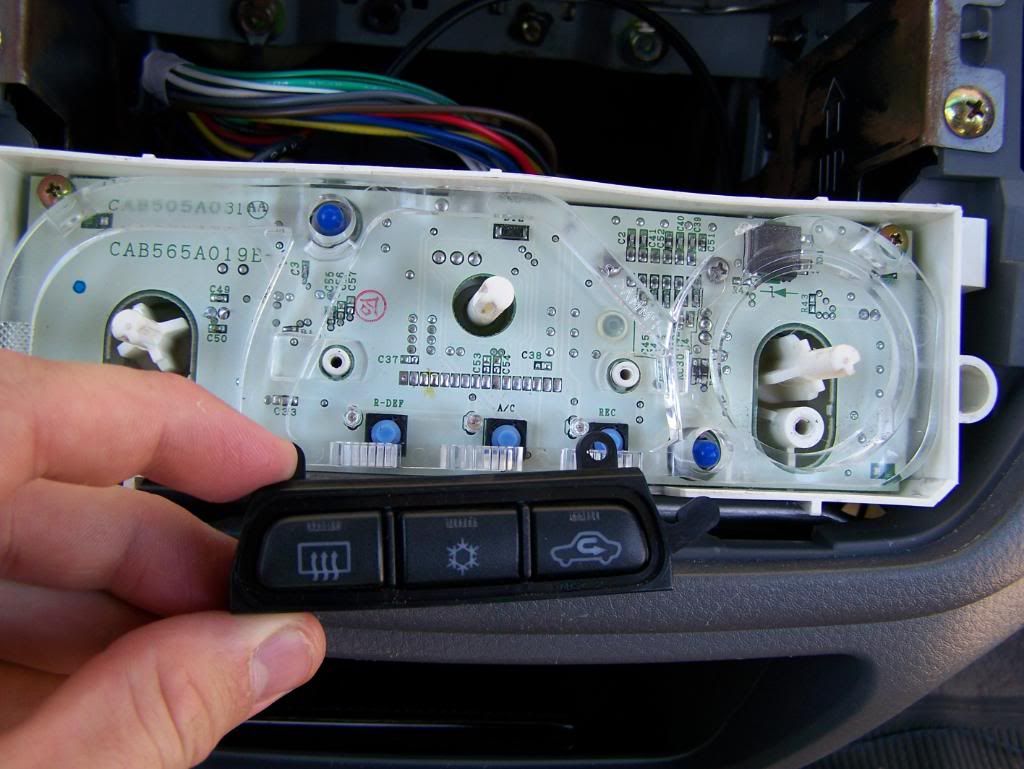
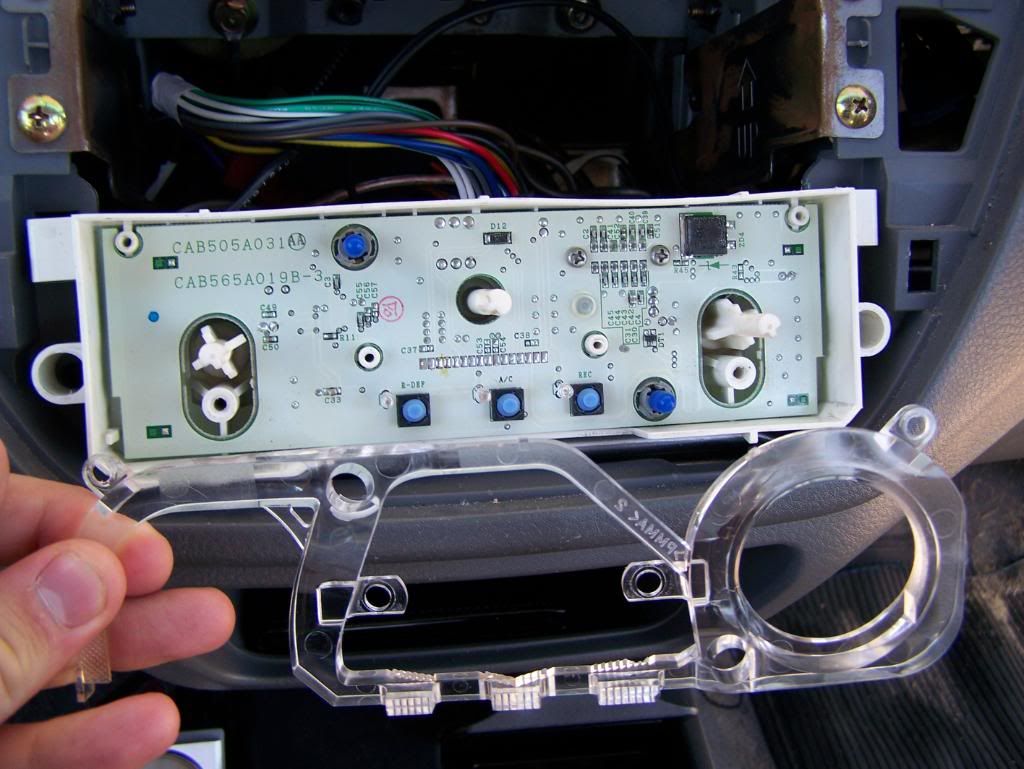
2nd. Remove both screws in the two top corners, once you've done that you'll be able to remove the clear light disperser
3rd. Part I: LED light replacement. Once you've done the above, get some needle nose pliers, it's either just pull the globes out, or they twist and pull out, you'll have to check seeming I haven't done this to mine (no desire to yet), then by reversing your method install the LED globes.
Part II: Cover replacement (cap replacement). To do this you cut around the globe then pull of the cap, and the just put the ones you have back on. Sometimes the caps can just pull straight off, depending on how old and tired they are they sometimes maybe fused to the globe, in which case you'll need to do what Part I said but with normal T5/10 globes not led ones.
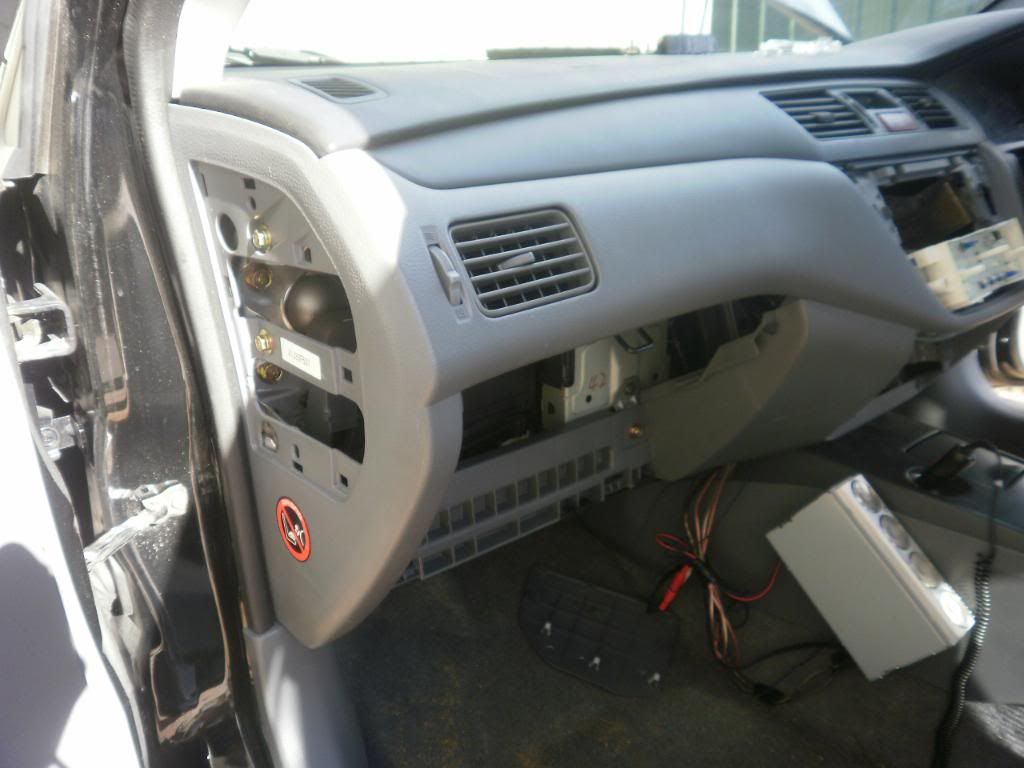
Door Sill removal, to help run and hide wires throughout your car.
There are 3clips on each piece running along your car. Like so:
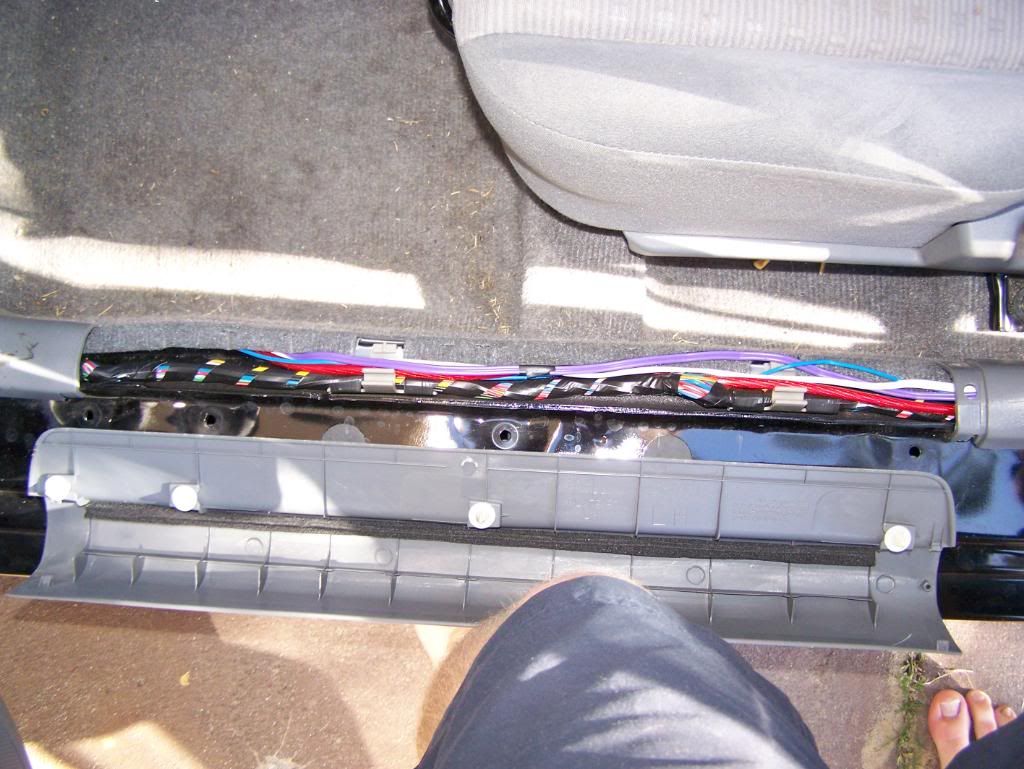
I will go into more detail about running wires tomorrow when I get more pics and draw where the clips are. In total there are 5 pieces of trim and the back seat to remove to effectively run the wire from HU to boot (for your amp and subwoofaaaaa)
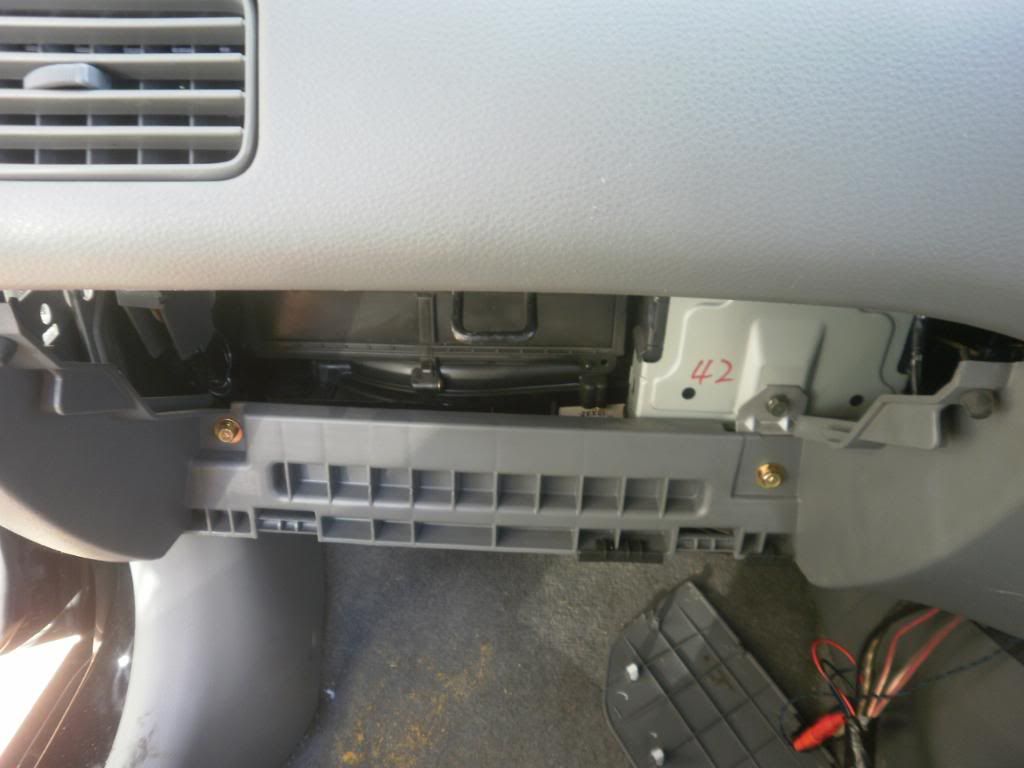
another one of the pieces need to be removed:
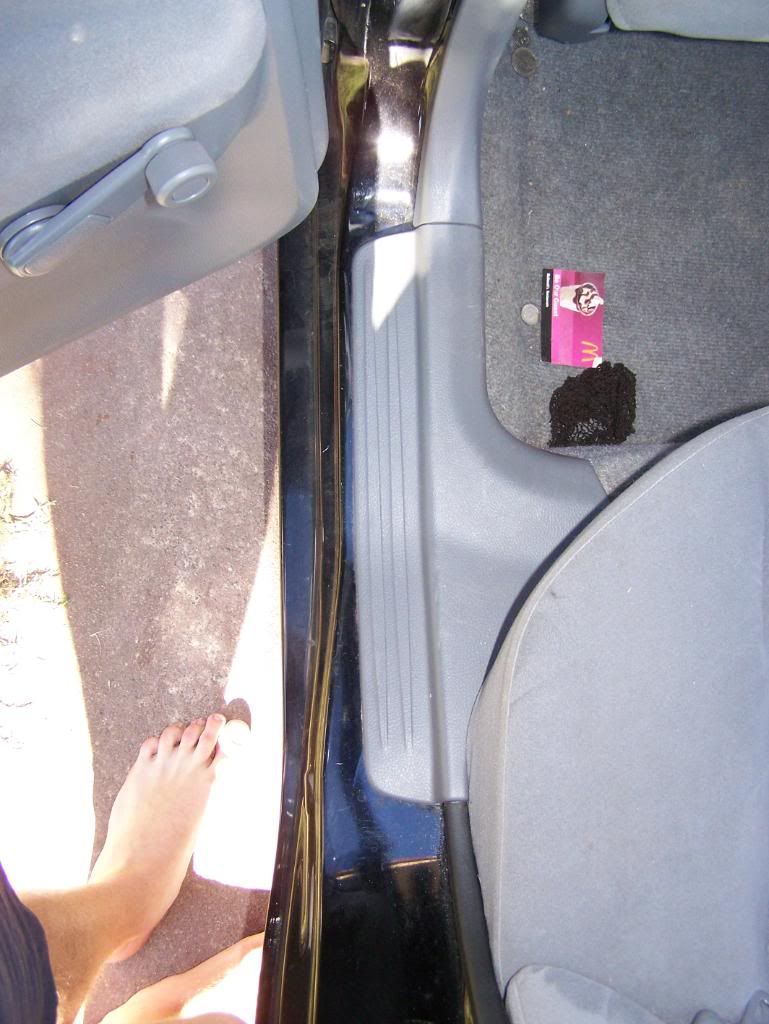
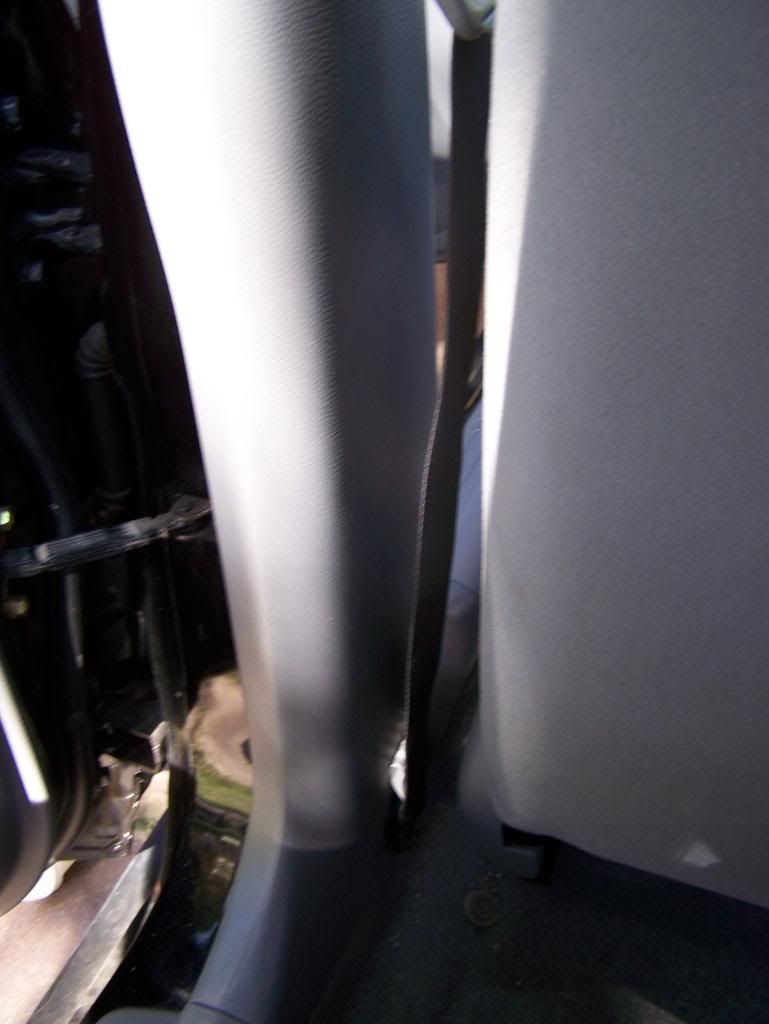
And then the trim running up between the doors containing the seat belt reel:
More to come soon, will be in different posts, each with a different subject.
It's not completed yet as I was only able to do the basics today, so headunit panel removal, intro to door trim removal, intro to back seat removal and intro to center console removal...
Tools used:
Flat and phillips head screw drivers
Complete socket wrench set
Cloth
Bit of muscle
Patient
Firstly, want to install a new headunit? This is how you do it:
Before you start removing the face plate, this is what is should like:
There are 3 steps to taking it off.
1st. Remove aircon 'knobs'/dials. With a little help they should just pull straight off, make sure you take all three off:
2nd. Undo screws located behind the temperature dial and mode dial, I believe they are a tad tight at first, so be careful not to strip the head.
3rd. Pull on the insides of the dials, where ever you can fit your fingers, then just pull out. You'll have to use a bit of force here because it's clipped in pretty well. I find once you have the bottom of it lifted, the rest can be pulled out easily.
Thats how the face plate comes off.
To remove the oem headunit is simple. Just release it from its holding clips on the part that attaches to the face plate, don't have pictures but it's fairly easy to work out. Then just un-plug the iso plug and aerial and hey-presto no more stock hu in there.
To put you own headunit it, push out the old din older from the original holder and put yours in. It should be a tight fit, but it will fit in, push it in until it sits flush with the faceplate. From here follow your Headunit's instruction manual, since all can be different in some way. I suggest though (as would others around here) don't cut wires, it it'll make putting your oem headunit back in a pain, get an ISO adapter:
You can get them from Super Cheap Auto, Auto One and probably autobarn. There are two parts to the one i got: one part was to adapt to the mitsubishi plug, then you have to get another plug for your desired headunit.
And thats your headunit, but whilst you have your faceplate off i'll show you the AC dials globes, and how to change them.
Right so with your headunit out and faceplate off you'll see this behind where the ac sits:
Again 3 steps to do the globes:
1st, remove De-fogger, AC and recirc buttons by removing the two screws above them (see pic above):
You end up with that.
2nd. Remove both screws in the two top corners, once you've done that you'll be able to remove the clear light disperser
3rd. Part I: LED light replacement. Once you've done the above, get some needle nose pliers, it's either just pull the globes out, or they twist and pull out, you'll have to check seeming I haven't done this to mine (no desire to yet), then by reversing your method install the LED globes.
Part II: Cover replacement (cap replacement). To do this you cut around the globe then pull of the cap, and the just put the ones you have back on. Sometimes the caps can just pull straight off, depending on how old and tired they are they sometimes maybe fused to the globe, in which case you'll need to do what Part I said but with normal T5/10 globes not led ones.
Door Sill removal, to help run and hide wires throughout your car.
There are 3clips on each piece running along your car. Like so:
I will go into more detail about running wires tomorrow when I get more pics and draw where the clips are. In total there are 5 pieces of trim and the back seat to remove to effectively run the wire from HU to boot (for your amp and subwoofaaaaa)
another one of the pieces need to be removed:
And then the trim running up between the doors containing the seat belt reel:
More to come soon, will be in different posts, each with a different subject.