How i removed/am removing the orange casing from the front indicator to give a clean and schmexy looking headlight cluster.
This is done on a CC/CE (as my wagon appears to be both) but I'm sure they are exactly the same and the skillz/methods would be transferable to other shapes etc.
Also this method does not involve putting your lights into an oven to open the casing but boiling them in water.
Tools required:
Standard Philips head screw driver (mines appears to be a 2pt x 4inchs)
Slightly smaller Flat head screw driver
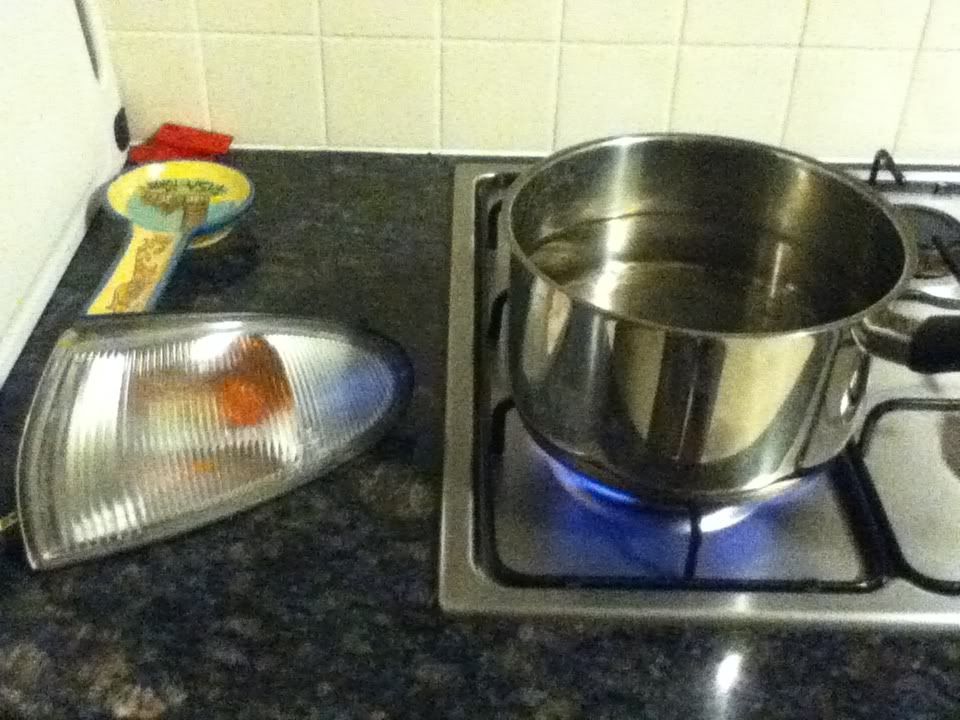
Large cooking pot
Stove/Barbeque/Campfire/ETC
Front corner indicator casing
Note:
For old light casings they can be very brittle and can crack/snap easily. Take your time and make sure the light housing it really hot! It wont/shouldnt melt/burn/catch alight in the water as it should max out at 100*C (unless you have it touching the hot plate or something)
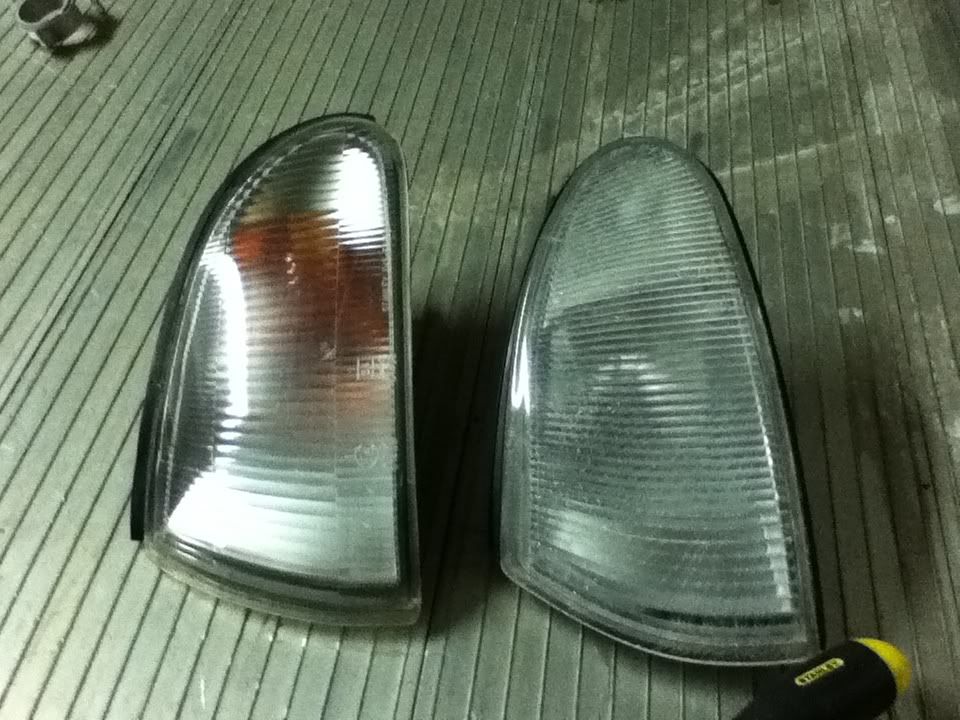
I went to the blacktown wrecker (pick and payless) and picked up 2 light casings to practice on or use as spares depending on whether I stuffed it up or not, they cost me $9 a peice.
My spare lights
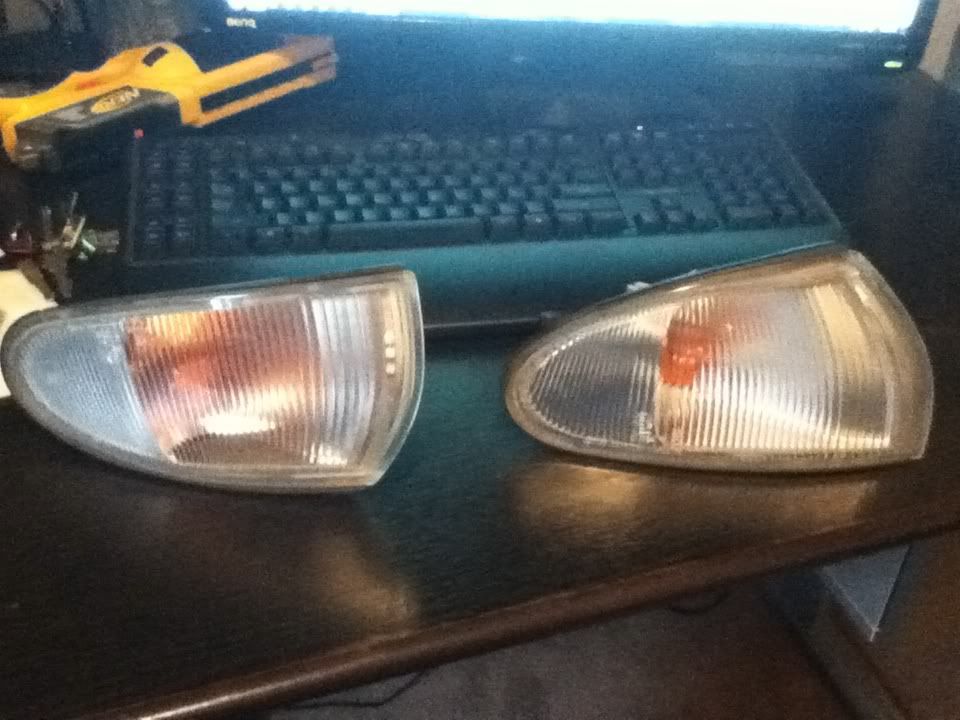
Pretty much ready to go, waiting for water to boil
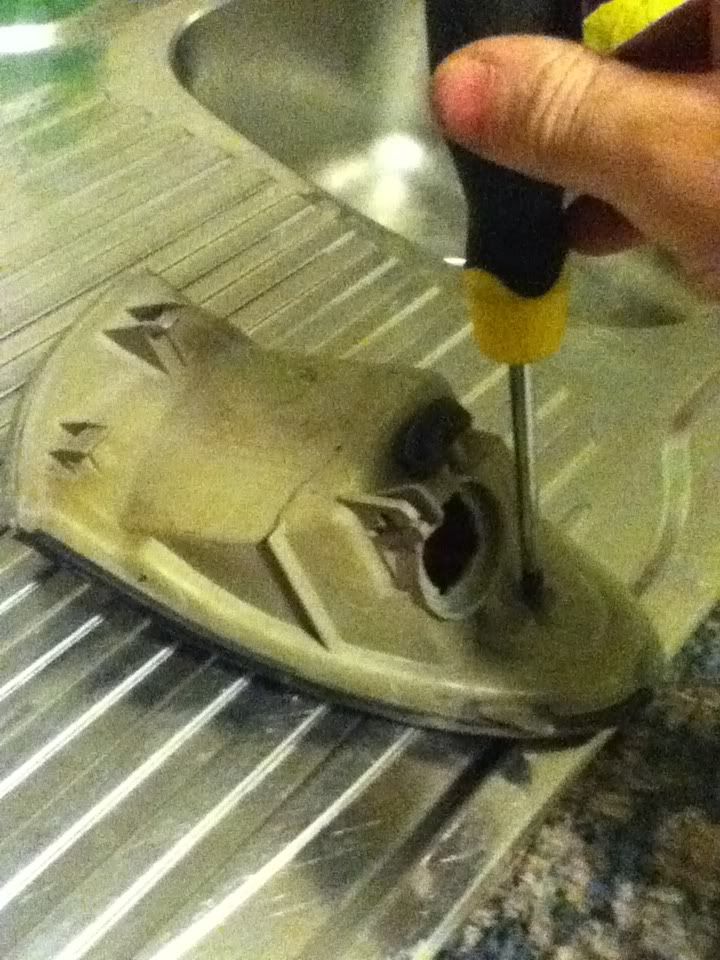
While waiting for water to boil, remove the only visible screw
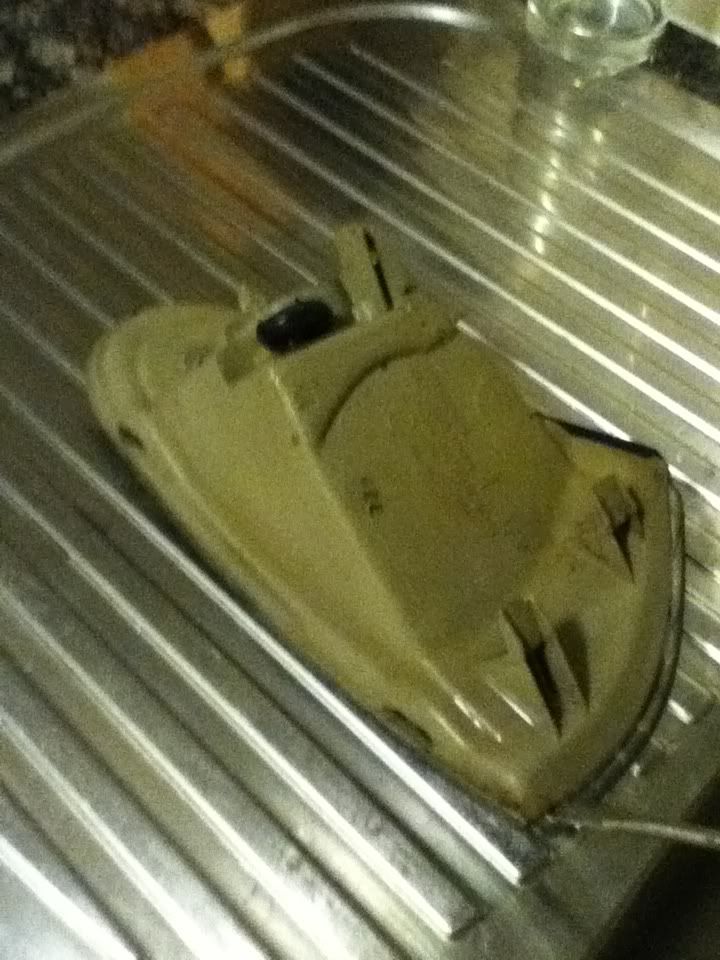
Dunk it in the water, if possible use a much larger pot than I did, I couldn't fit the whole light in there. Also try to not let the light touch the pot itself as the metal can go above 100*C and will begin to melt plastic depending on how you are heating the water. If you smell a weird plasticy smell, that is the glue/bluetack/silicon stuff that seals the light, its very strong so its important to have the light really hot to make it as soft as possible.

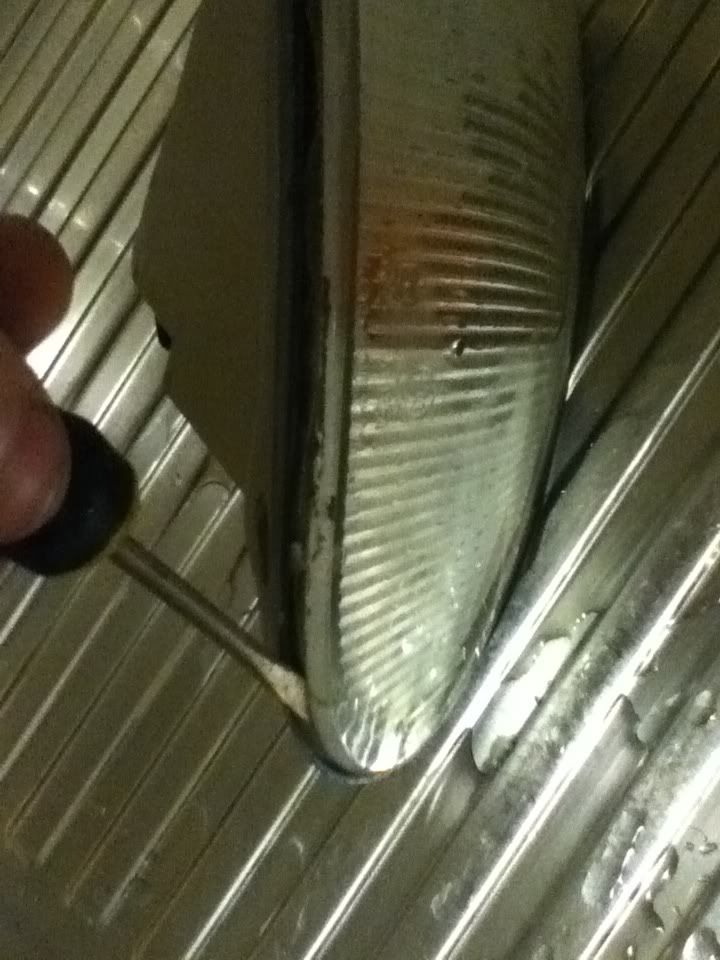
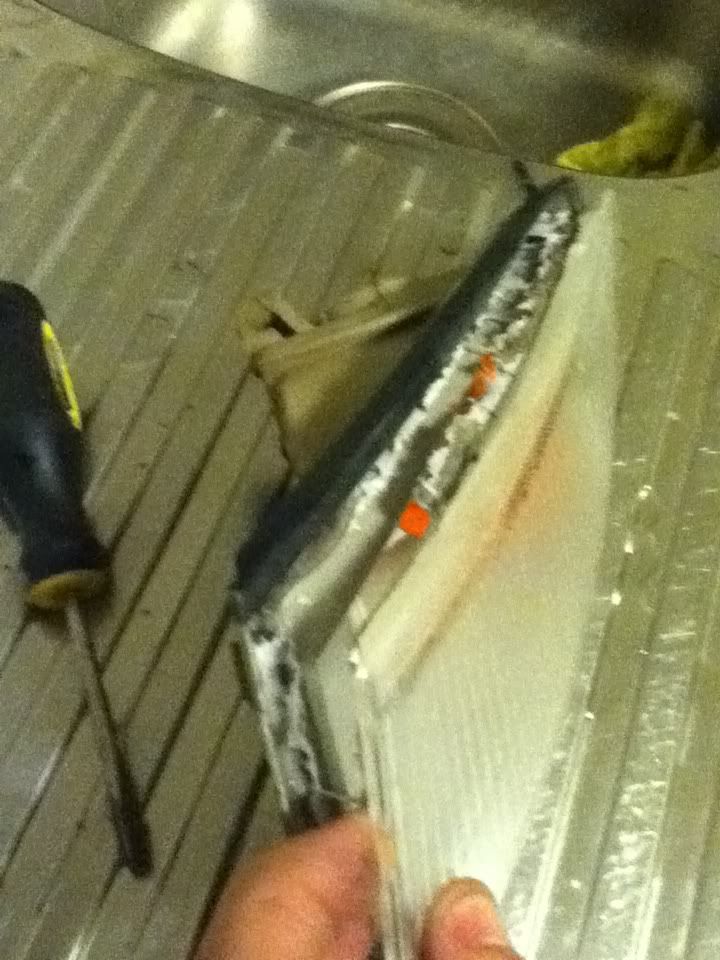
When the light is scorching hot (about 5-10 mins in the pot) remove it from the pot and begin to pry the front cover off, I found it easy to begin in the corner shown and work along the side with the 2 clips, then all the way around. If it starts out nice and soft, then begins to get harder and more brittle, or even begins very hard and brittle, the glue is not hot enough yet and you risk breaking the light. Put it back in the boiling water for a bit. Also remember that the longer you heat it for the more water will evaporate and your water level will go down, I had to top up a few time because it got low. if you have a large pot this may not be the case.
Working my way around
Almost there
Got it!
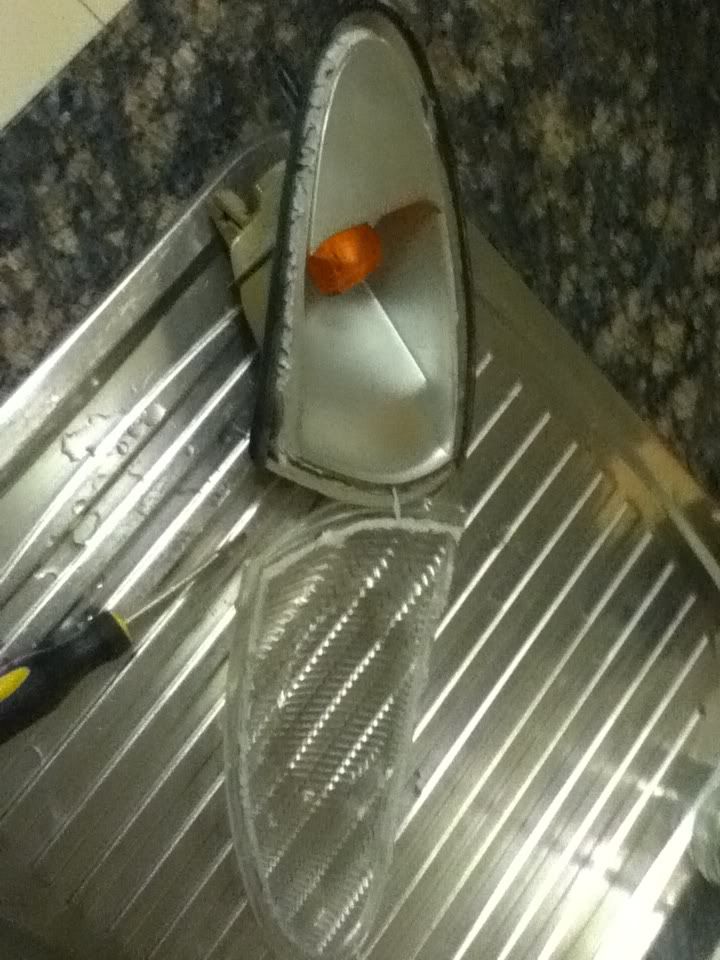
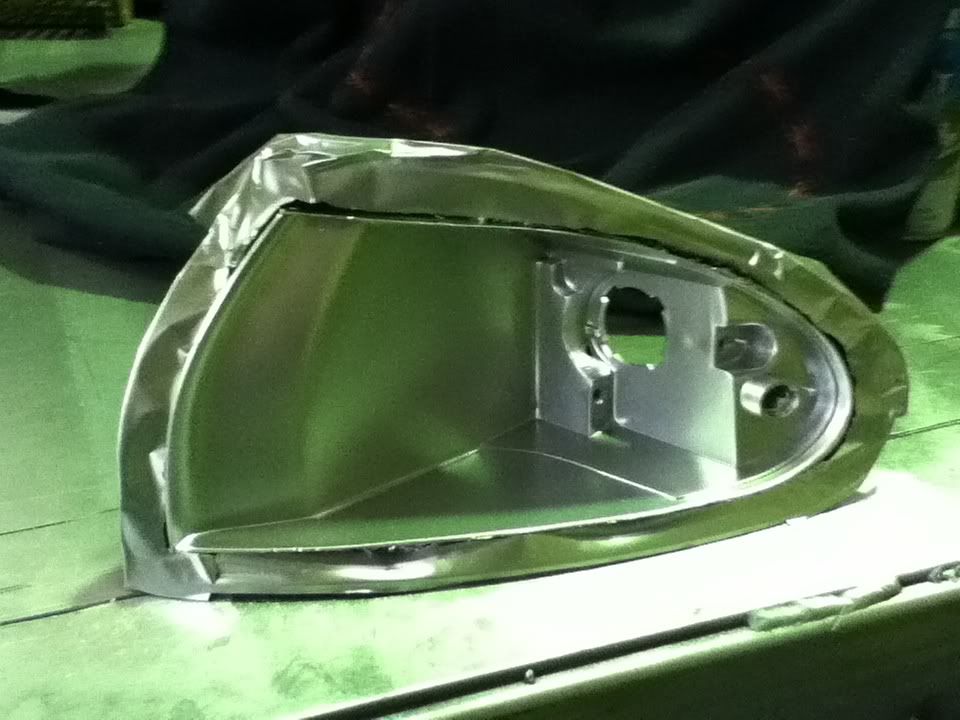
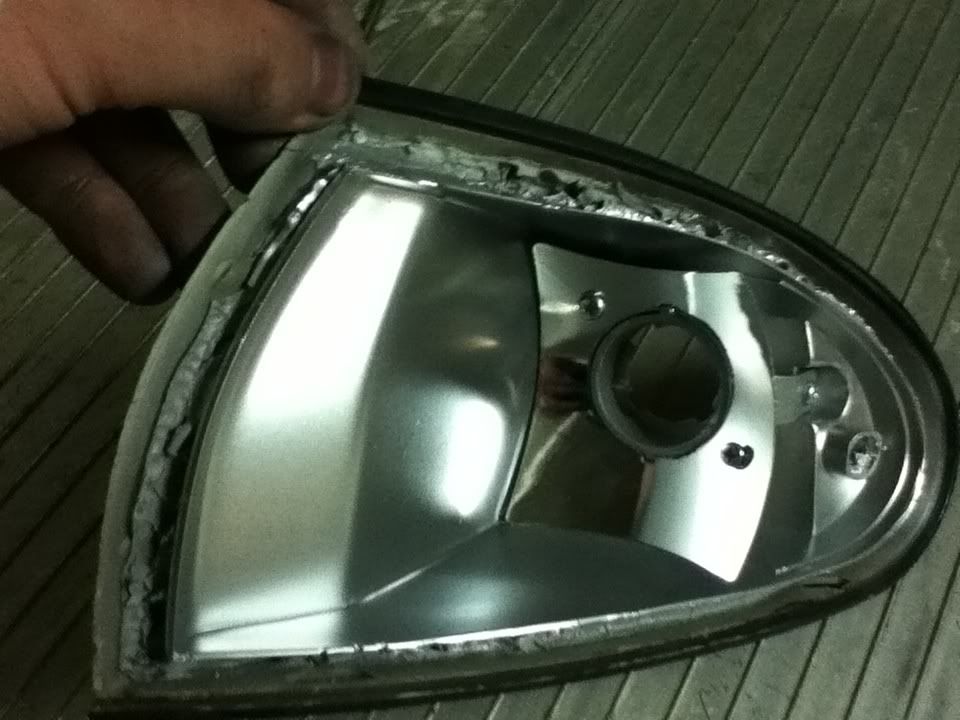
Now the front cover is off put it back into the boiling water to soften the glue/blutack/silicone stuff that holds on the outside chrome cover thing thing.
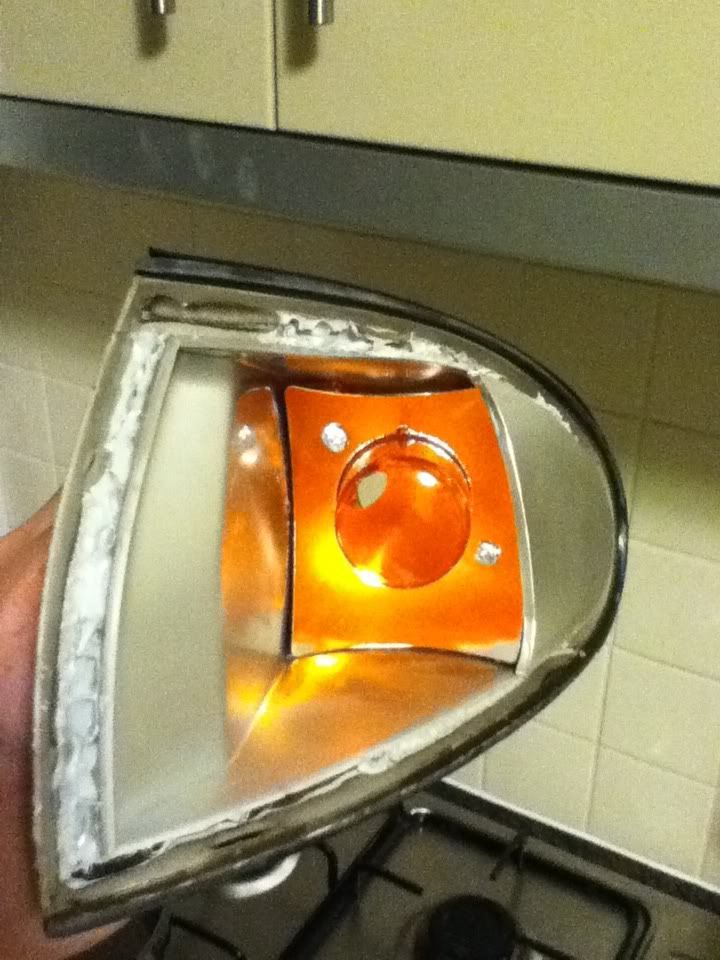
Plate removed as such
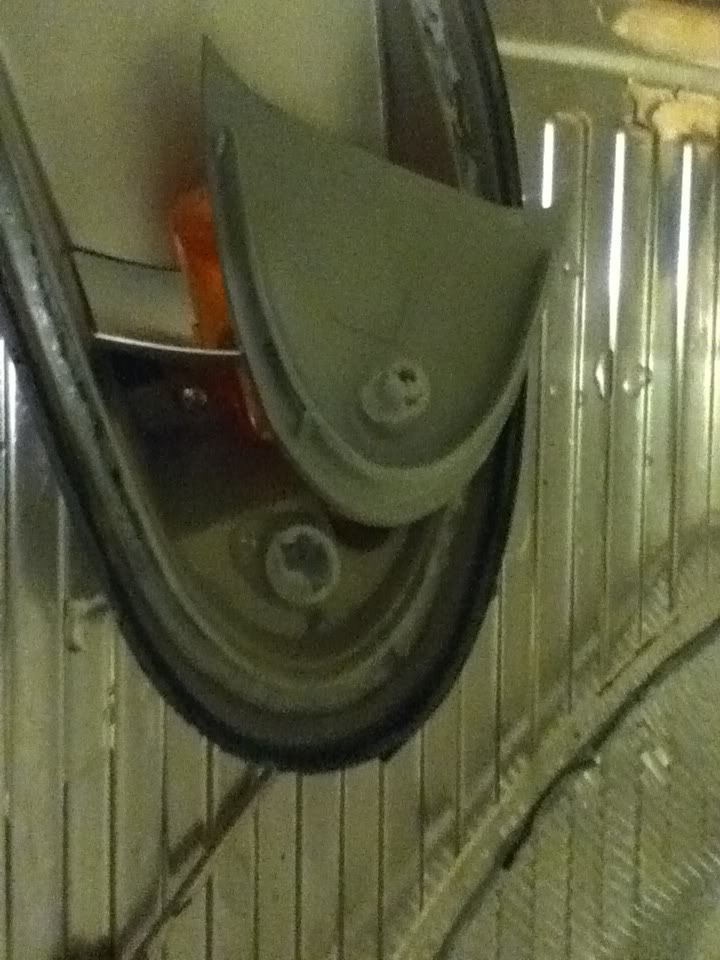
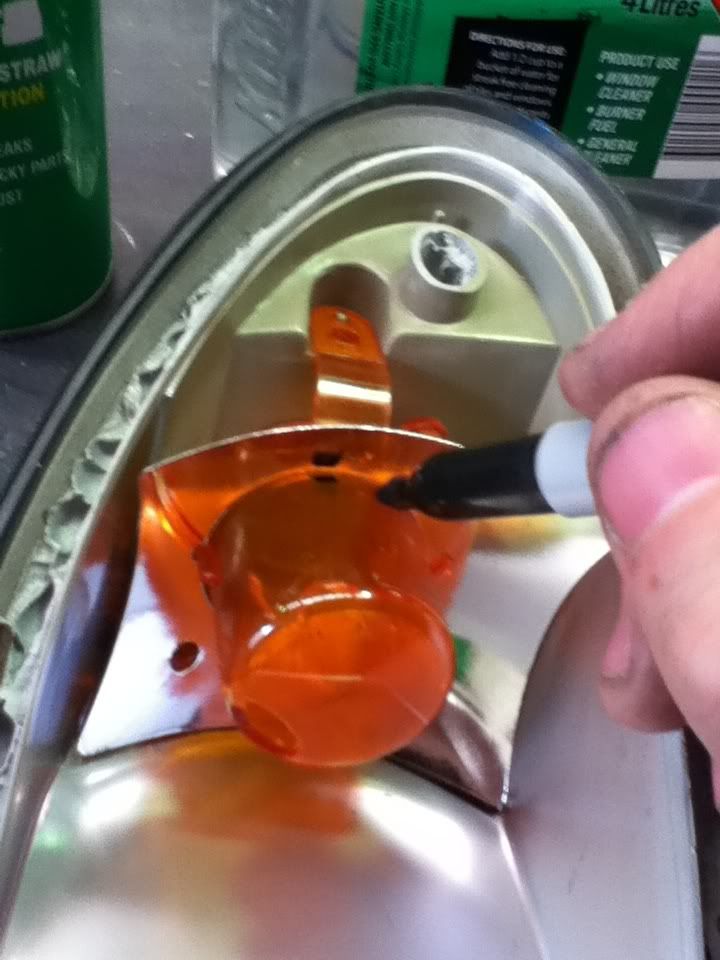
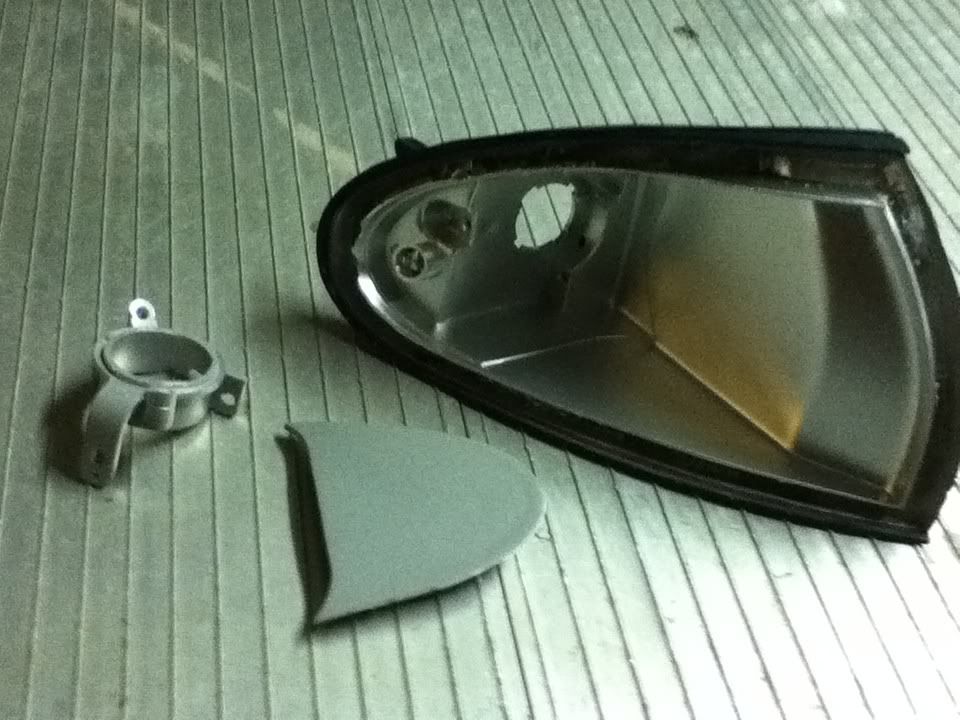
Unscrew the remaining 3 screws to remove the back reflector and the orange casing and the light should be fully disassembled.
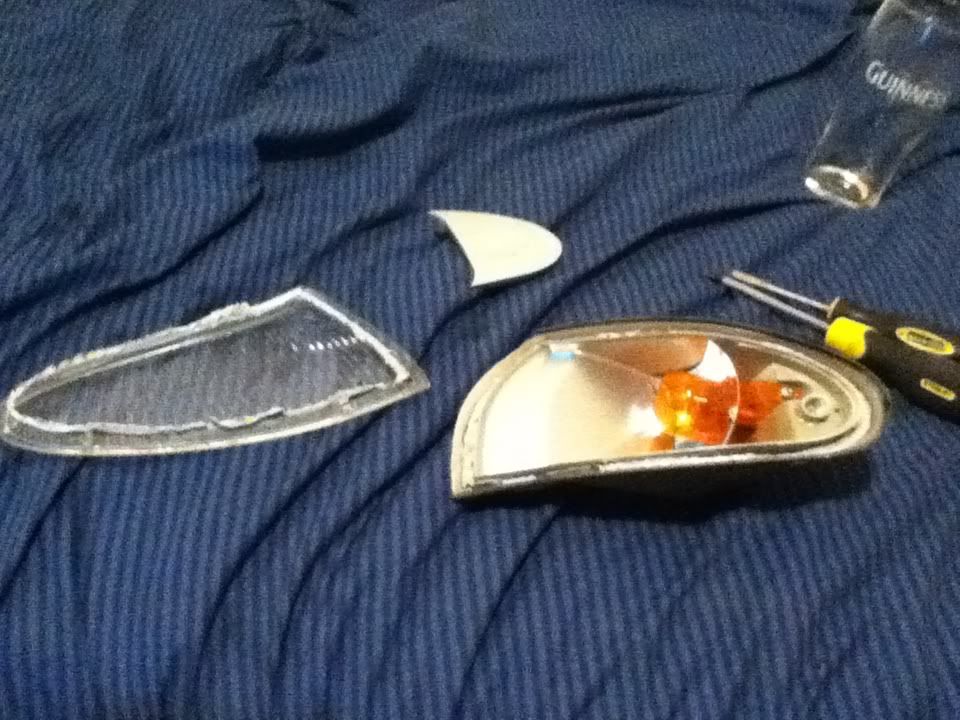
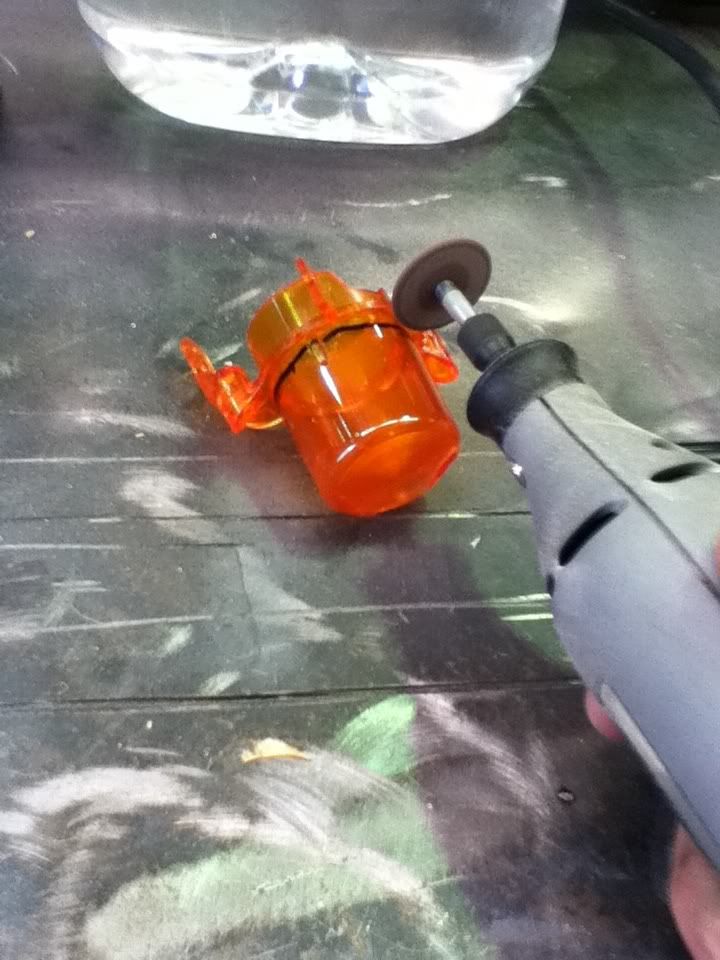
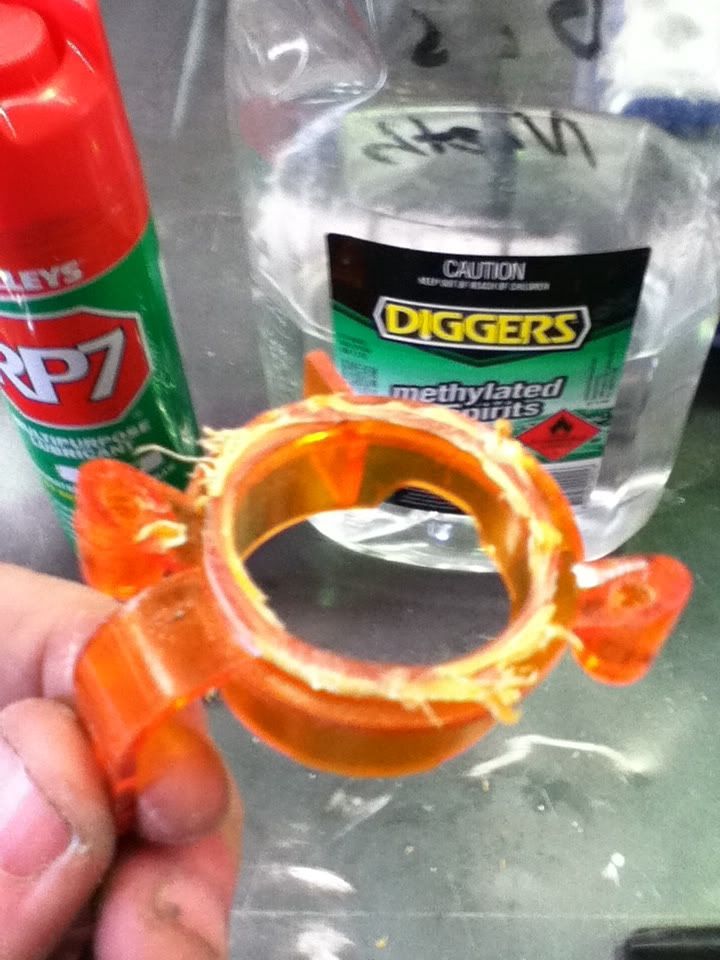
This is as far as I have got tonight, ill take the pieces to work tomz to cut away at the orange casing and probs neaten up the paint on the back of the casing, it has blue paint marks and such all over it.
Ill post further as I go.
This is done on a CC/CE (as my wagon appears to be both) but I'm sure they are exactly the same and the skillz/methods would be transferable to other shapes etc.
Also this method does not involve putting your lights into an oven to open the casing but boiling them in water.
Tools required:
Standard Philips head screw driver (mines appears to be a 2pt x 4inchs)
Slightly smaller Flat head screw driver
Large cooking pot
Stove/Barbeque/Campfire/ETC
Front corner indicator casing
Note:
For old light casings they can be very brittle and can crack/snap easily. Take your time and make sure the light housing it really hot! It wont/shouldnt melt/burn/catch alight in the water as it should max out at 100*C (unless you have it touching the hot plate or something)
I went to the blacktown wrecker (pick and payless) and picked up 2 light casings to practice on or use as spares depending on whether I stuffed it up or not, they cost me $9 a peice.
My spare lights
Pretty much ready to go, waiting for water to boil
While waiting for water to boil, remove the only visible screw
Dunk it in the water, if possible use a much larger pot than I did, I couldn't fit the whole light in there. Also try to not let the light touch the pot itself as the metal can go above 100*C and will begin to melt plastic depending on how you are heating the water. If you smell a weird plasticy smell, that is the glue/bluetack/silicon stuff that seals the light, its very strong so its important to have the light really hot to make it as soft as possible.
When the light is scorching hot (about 5-10 mins in the pot) remove it from the pot and begin to pry the front cover off, I found it easy to begin in the corner shown and work along the side with the 2 clips, then all the way around. If it starts out nice and soft, then begins to get harder and more brittle, or even begins very hard and brittle, the glue is not hot enough yet and you risk breaking the light. Put it back in the boiling water for a bit. Also remember that the longer you heat it for the more water will evaporate and your water level will go down, I had to top up a few time because it got low. if you have a large pot this may not be the case.
Working my way around
Almost there
Got it!
Now the front cover is off put it back into the boiling water to soften the glue/blutack/silicone stuff that holds on the outside chrome cover thing thing.
Plate removed as such
Unscrew the remaining 3 screws to remove the back reflector and the orange casing and the light should be fully disassembled.
This is as far as I have got tonight, ill take the pieces to work tomz to cut away at the orange casing and probs neaten up the paint on the back of the casing, it has blue paint marks and such all over it.
Ill post further as I go.
 ) I will replace it all and take photos to explain further.