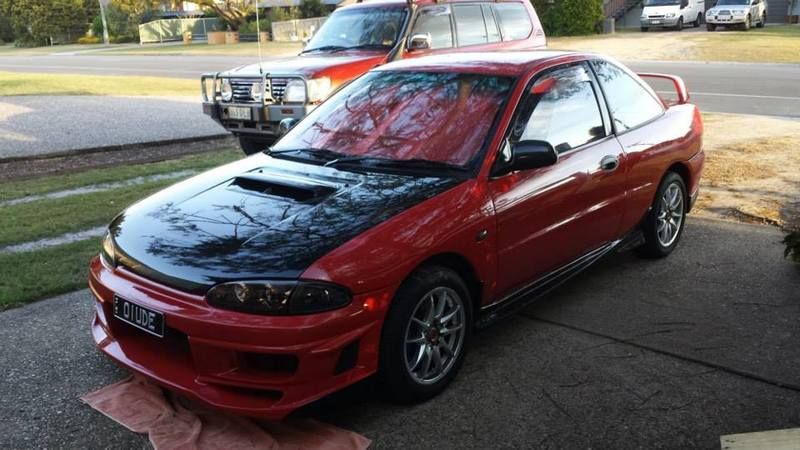
A quick (not really) DIY on how to install aftermarket headlights in your CC coupe (this is assuming you bought headlights for a Proton Wira etc. from Malaysia).
Step One:
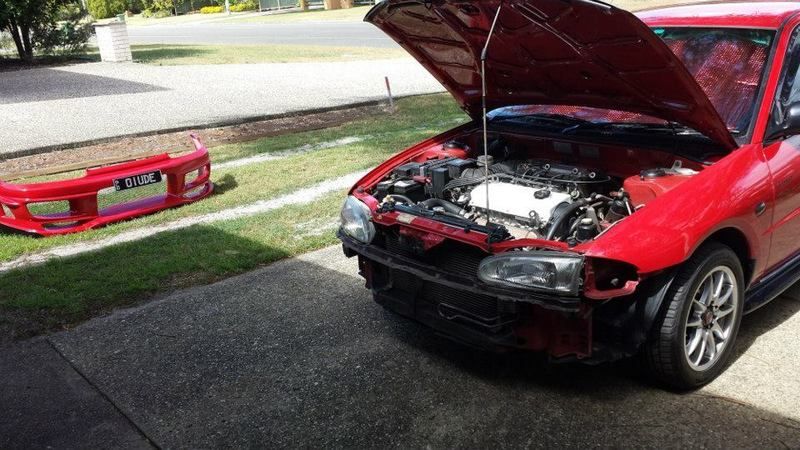
Take your front bumper off. Depending on how it's attached, you will need to undo 2+ bolts to get it off, place these to the side.

Step Two:
Remove your indicators from the headlights. You need to unclip the spring in the engine bay and unclip the bulb from the indicator to remove it completely. Then take the bulb and socket out of your old indicator and put it in your new indicator (you will need to replace the clear bulb with an orange bulb, as you will be defected for having clear blinking indicators instead of orange).

Step Three:
Remove your coolant bottle from the engine bay, one bolt on the chassis and one bolt on the battery tray. This will give you access to 2 nuts to get your headlights out. There are 4 nuts for each headlight, then unplug the two plugs in the back of your headlight and slide them out, keeping the nuts safely to the side.

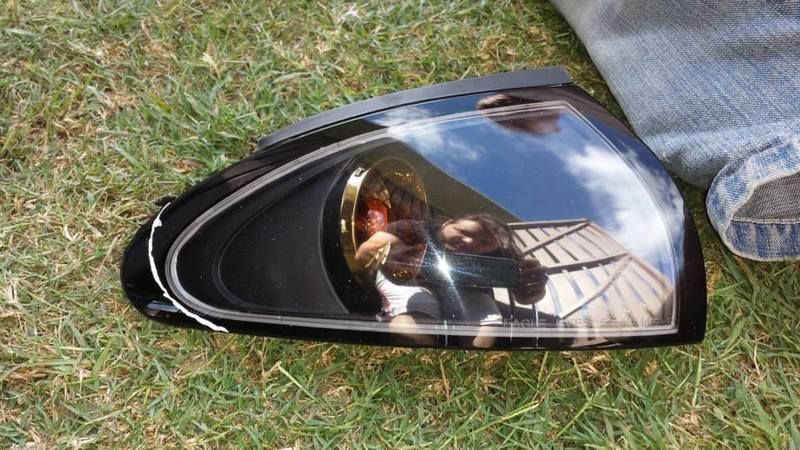
Step Four:
Put your new headlights in. The bolts in your new headlights aren't as long as your stock lights so it will be a lot easier to get them in. Bolt them in and plug the plugs back in, test them to see that all the lights are working.

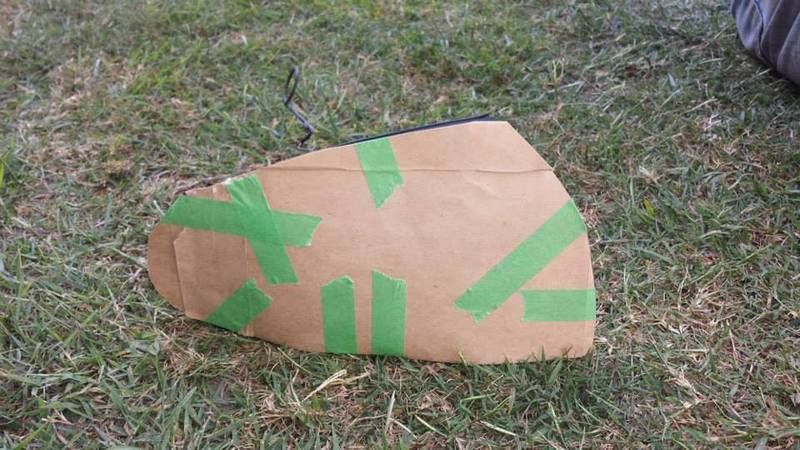
Step Five:
The pesky indicators... You will need to make a template of your stock indicator and lay it over your aftermarket indicator. Then you need to grind/sand/cut your indicator down to match your stock indicator, as the aftermarket indicators are about 1.5cm too long to fit for now. Mark off the edge with a white-out/correction pen, then grind away at them (either with a bench grinder, belt sander or file). Make sure you check, double check and triple check the fitment of the indicator as you go, you can always shave more off but you can't add it back on.


Step Six:
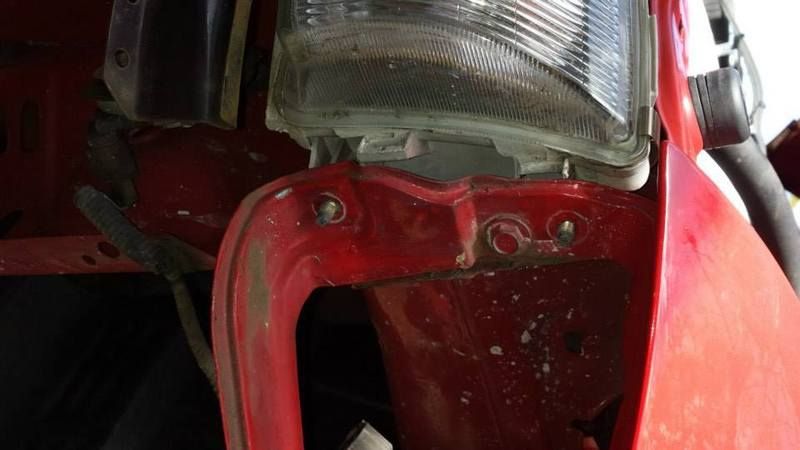
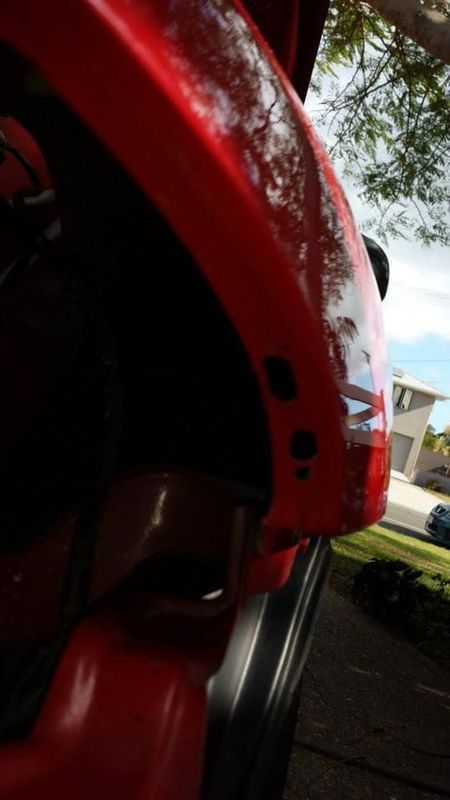
You will need to drill a new mount point for the indicator as they are not in the same place as the stock indicators. Use a small drill bit to drill through the fender, then open the gap wider with a larger drill bit. If you need to mod the fender even more, use a rat's tail file (Rasp) to file away at the fender. Make sure you rustproof the hole you just drilled. (The bottom holes are the ones I drilled, the top hole is from your stick indicator).

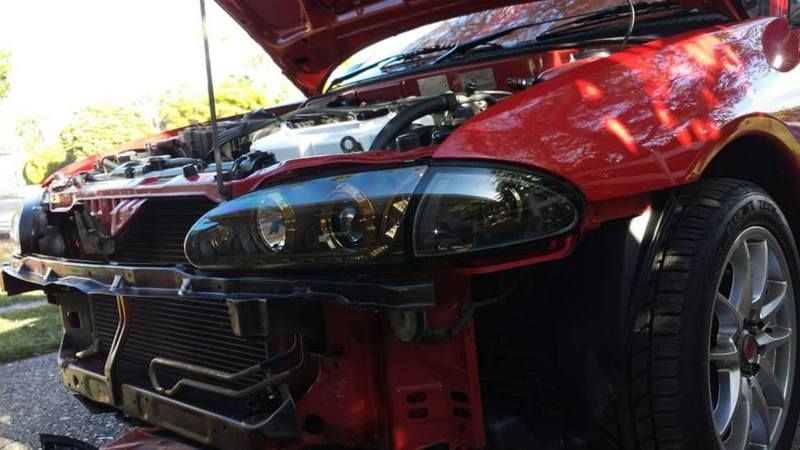
Step Seven:
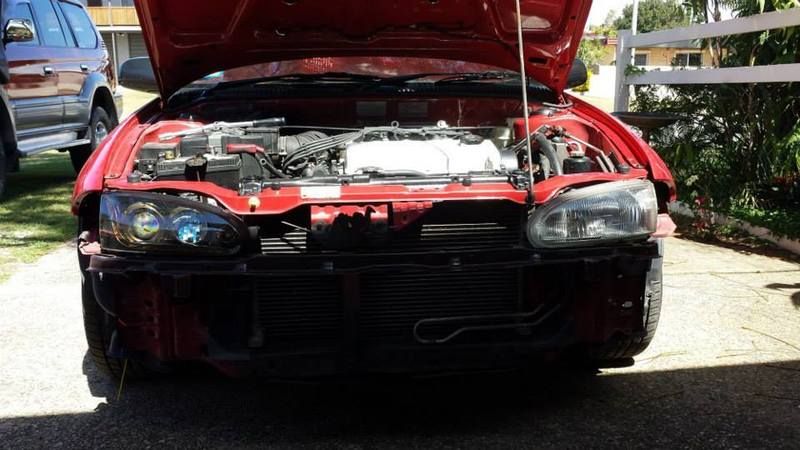
After your indicator has been shaved down enough, put the plug back into it and mount it to the headlight, then clip it back in the engine bay via the spring. Make sure your indicators are working before you move on (just throw on your hazard lights).

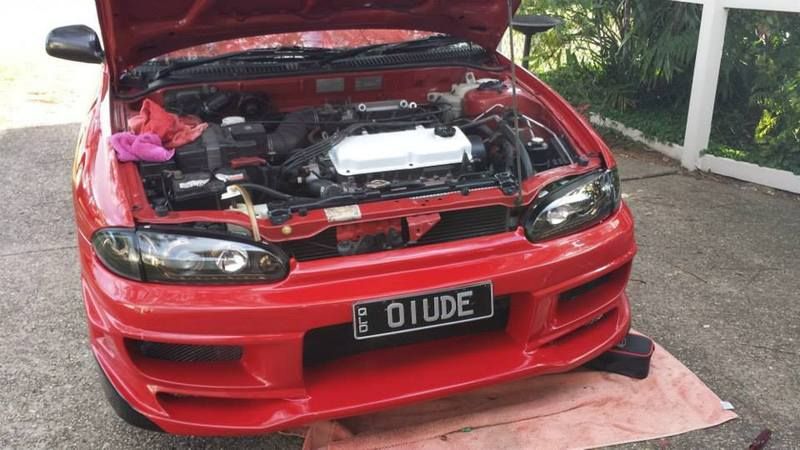
Step Eight:
Put your front bumper back on and bolt your coolant bottle back in. Double-check your lights again. Enjoy.


Step One:
Take your front bumper off. Depending on how it's attached, you will need to undo 2+ bolts to get it off, place these to the side.
Step Two:
Remove your indicators from the headlights. You need to unclip the spring in the engine bay and unclip the bulb from the indicator to remove it completely. Then take the bulb and socket out of your old indicator and put it in your new indicator (you will need to replace the clear bulb with an orange bulb, as you will be defected for having clear blinking indicators instead of orange).
Step Three:
Remove your coolant bottle from the engine bay, one bolt on the chassis and one bolt on the battery tray. This will give you access to 2 nuts to get your headlights out. There are 4 nuts for each headlight, then unplug the two plugs in the back of your headlight and slide them out, keeping the nuts safely to the side.
Step Four:
Put your new headlights in. The bolts in your new headlights aren't as long as your stock lights so it will be a lot easier to get them in. Bolt them in and plug the plugs back in, test them to see that all the lights are working.
Step Five:
The pesky indicators... You will need to make a template of your stock indicator and lay it over your aftermarket indicator. Then you need to grind/sand/cut your indicator down to match your stock indicator, as the aftermarket indicators are about 1.5cm too long to fit for now. Mark off the edge with a white-out/correction pen, then grind away at them (either with a bench grinder, belt sander or file). Make sure you check, double check and triple check the fitment of the indicator as you go, you can always shave more off but you can't add it back on.
Step Six:
You will need to drill a new mount point for the indicator as they are not in the same place as the stock indicators. Use a small drill bit to drill through the fender, then open the gap wider with a larger drill bit. If you need to mod the fender even more, use a rat's tail file (Rasp) to file away at the fender. Make sure you rustproof the hole you just drilled. (The bottom holes are the ones I drilled, the top hole is from your stick indicator).
Step Seven:
After your indicator has been shaved down enough, put the plug back into it and mount it to the headlight, then clip it back in the engine bay via the spring. Make sure your indicators are working before you move on (just throw on your hazard lights).
Step Eight:
Put your front bumper back on and bolt your coolant bottle back in. Double-check your lights again. Enjoy.