Brutalcookies
New Member
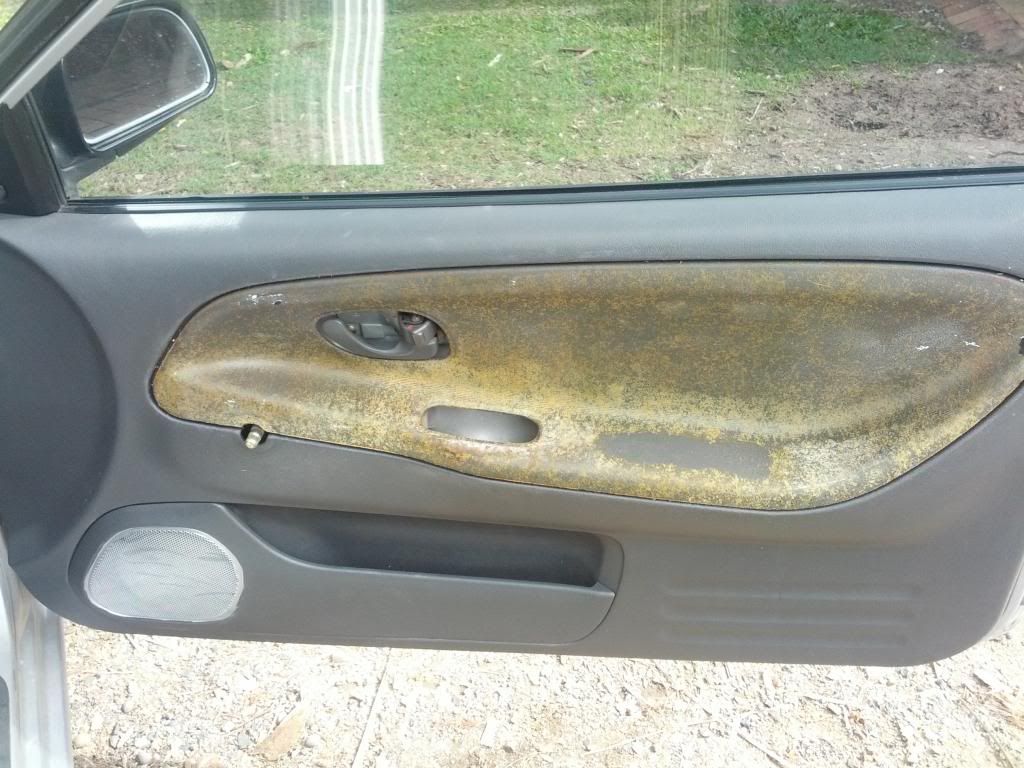
I wanted to replace my door trims but could never find the right material and colour so I decided to paint them. This is a good method because if you want to revert back to a material all you have to do is remove the paint and glue it back on again.
Once you remove the fabric you're left with this horrible gluey old gunk. I tried to remove this before with different bits and pieces, but only 'Goof off' worked for me. WARNING, I didn't purposely spray Goof off on the surround plastic but around the edges it seemed to bleach and dry out the plastic, I recommend masking the door when applying it.

Like it tells you, it is really a miracle remover. Rust-Oleum is the paint I used for only the doors. The remaining interior was painted with the cheapest spray paint at Bunnings, Fiddly Bits
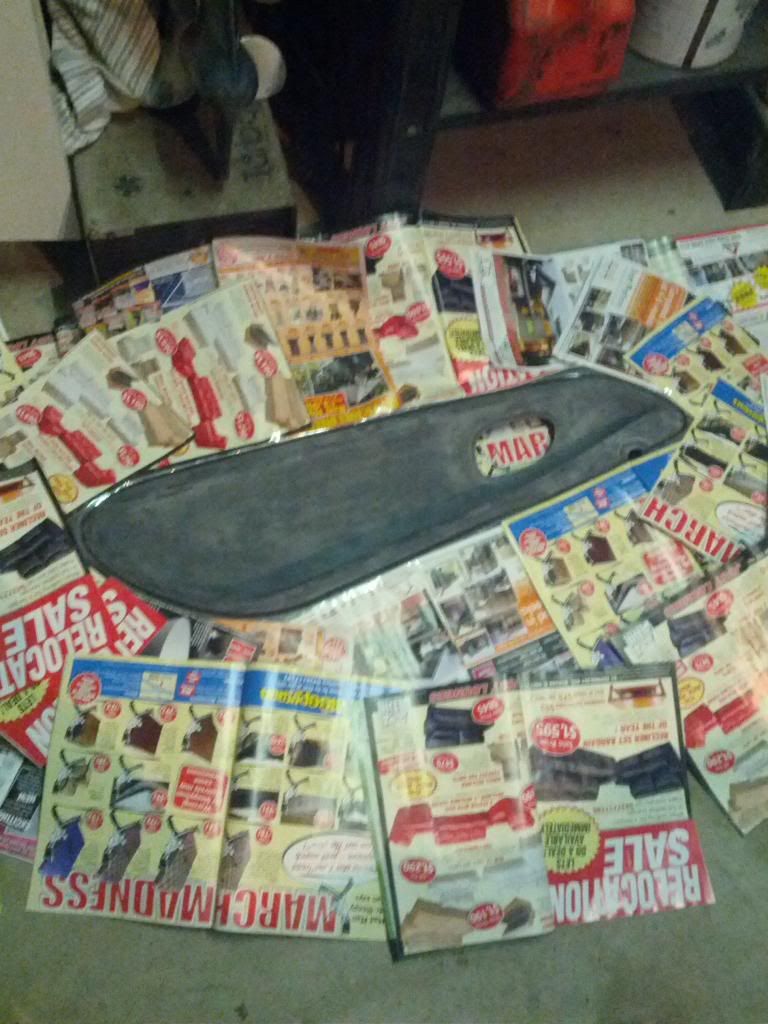
You can see I little piece I removed simply by spraying it on and rubbing the area with a cloth.
Next I masked the doors, washed them and sanded them down.
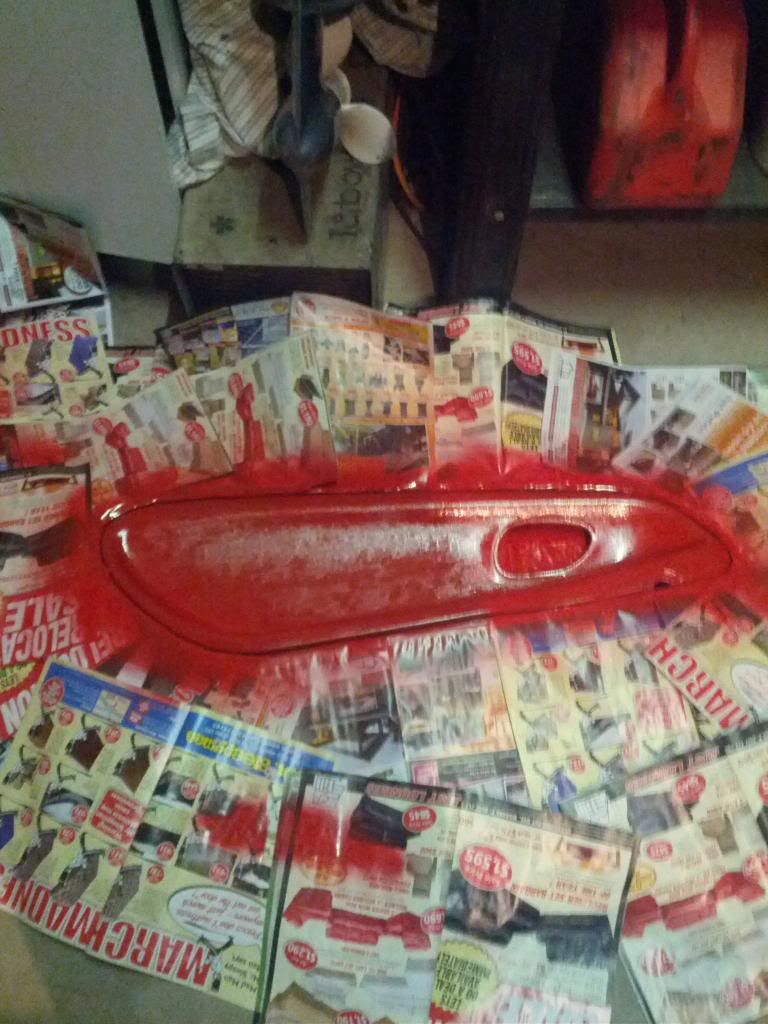
I applied 4 reasonably light coats then the next day I applied 3 coats of Clear Gloss to protect the paint.
Next was the interior. I removed the panel around the AC controls, centre console and the AC vents on both sides of the dash board. This is pretty simple the Panel around the AC controls and vents where just clipped in along with the panel where your stereo sits. A flat head screw driver helps but be careful not to break them. The centre console is held in by 6 screws plus four that hold the Gear boot in.
First remove the back half which is held in by two screws located in the back compartment.
Once you remove that piece there are two screws at the start of the next piece and two more on the side above where your feet sit.
Lift the piece up and remove the four screws that hold the gear stick boot to the centre console.
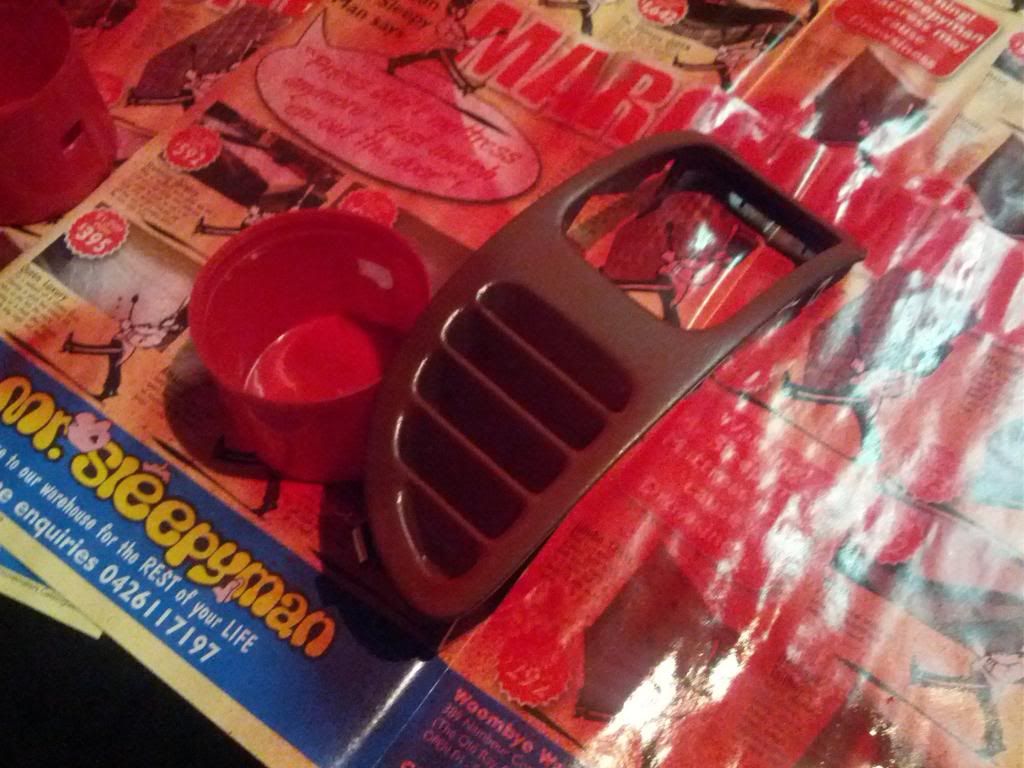
Clean and mask them up.
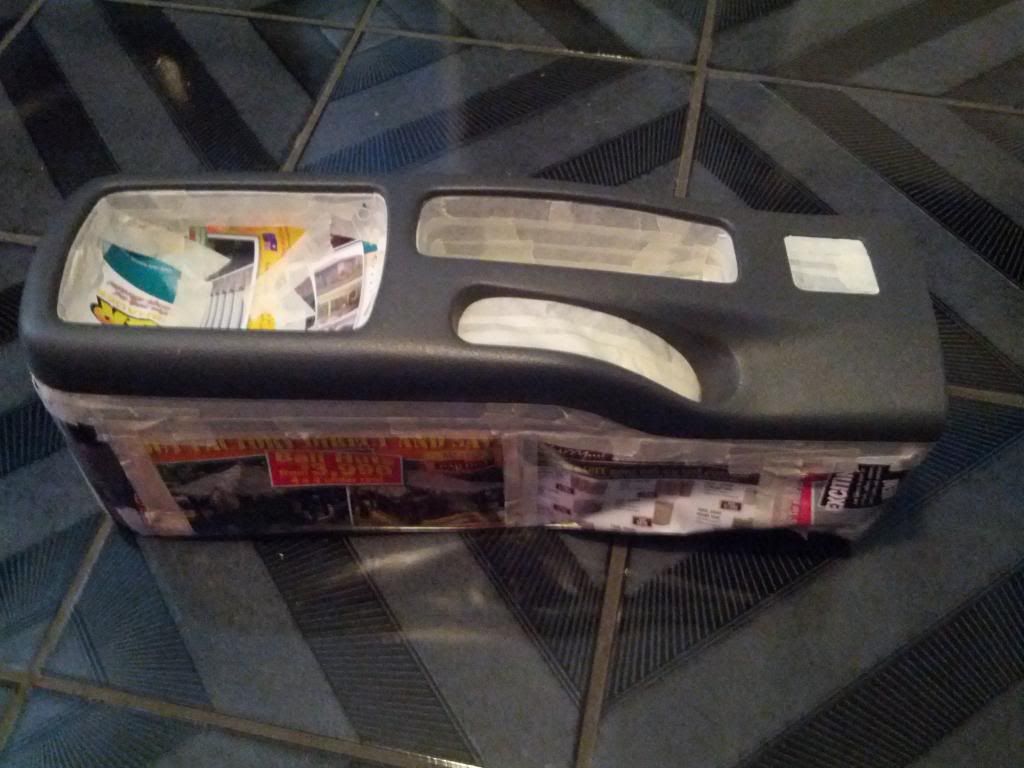
^Pro masking")
The paint wasn't the best quality but came out amazing
The trick was really really light first coat, like really light. Extremely light. This gave the paint something to stick to. Next a I applied 3-4 coats plus 2-3 coat of clear. Which is extremely important was it waterproofs and protects the paint from getting damaged. But most importantly it give I nice smooth touch finish.
I left the pieces over night to dry and put them back in the next day.
Tip: Remove your masking around the edges before the paint dries. On the pieces that I removed the masking when it was dry it took some of the paint away from the place I didn't want it to.
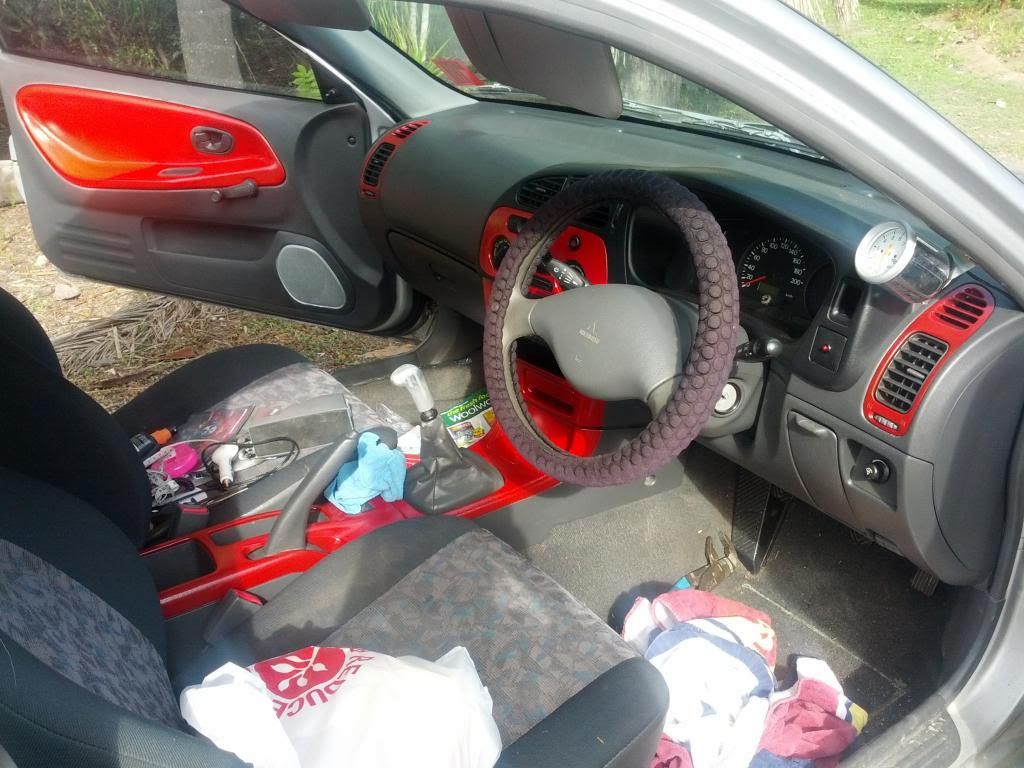
The result
Messy car
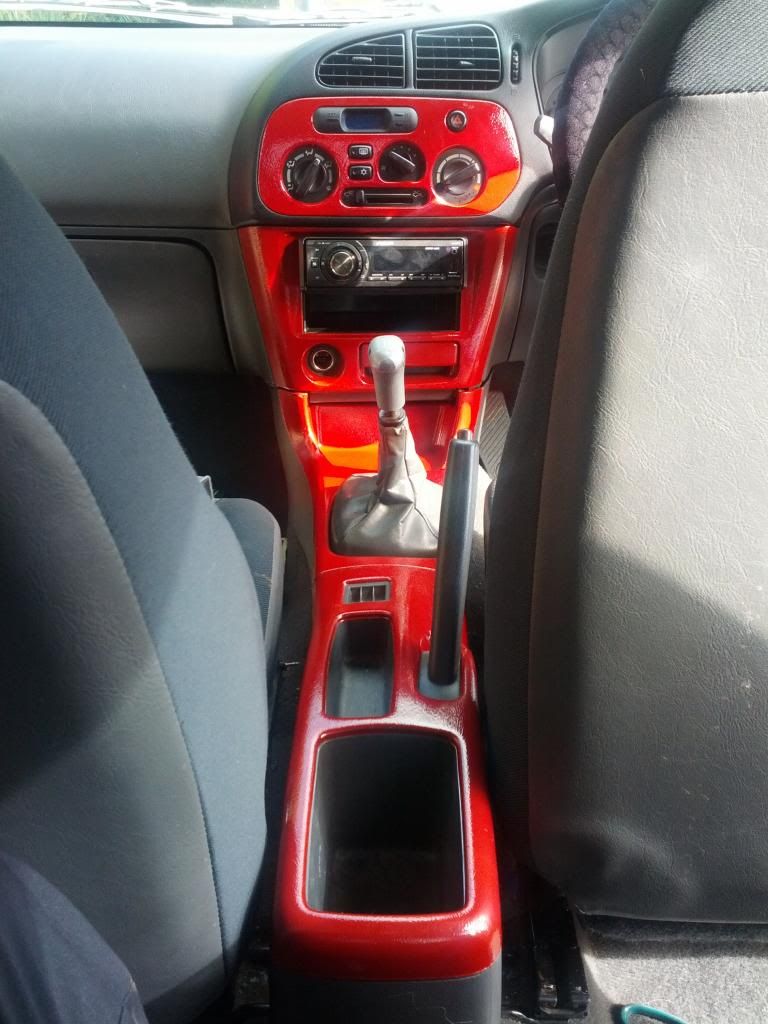
Clean Car
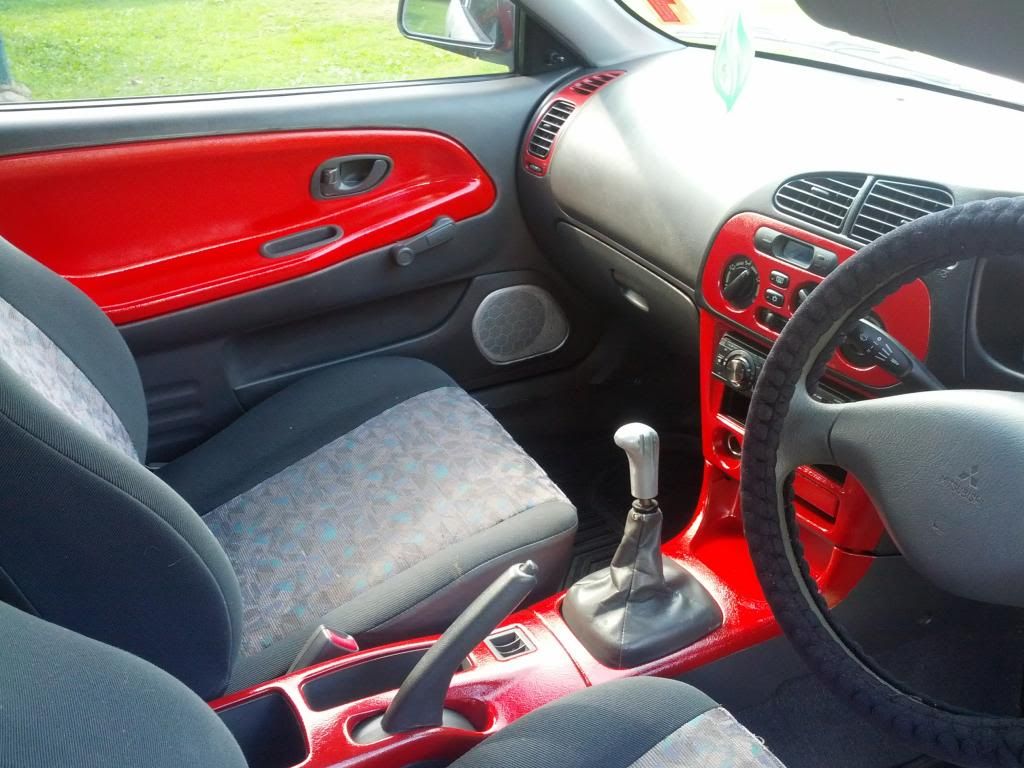
You might notice my panel aren't aligned. Thats because I haven't screwed them in as I'm putting some LED's in within the next week and need the access.
The Cost
Goof-Off: $10-15 (depending on can size)
Rust O-Oleum: around $10 (depending on whether you get 2x paint + primer or just the paint.
Fiddly Bits: $3.80 per can. I brought 3, the second can become faulty and splattered everywhere so I only got to use half of the can.
Clear Coat: $8-15 depending on the brand, I used Duplex Clear Gloss. I recommend if you paint the dash itself to get matte clear coat or something to reduce the glare.
Once you remove the fabric you're left with this horrible gluey old gunk. I tried to remove this before with different bits and pieces, but only 'Goof off' worked for me. WARNING, I didn't purposely spray Goof off on the surround plastic but around the edges it seemed to bleach and dry out the plastic, I recommend masking the door when applying it.

Like it tells you, it is really a miracle remover. Rust-Oleum is the paint I used for only the doors. The remaining interior was painted with the cheapest spray paint at Bunnings, Fiddly Bits

You can see I little piece I removed simply by spraying it on and rubbing the area with a cloth.
Next I masked the doors, washed them and sanded them down.

I applied 4 reasonably light coats then the next day I applied 3 coats of Clear Gloss to protect the paint.

Next was the interior. I removed the panel around the AC controls, centre console and the AC vents on both sides of the dash board. This is pretty simple the Panel around the AC controls and vents where just clipped in along with the panel where your stereo sits. A flat head screw driver helps but be careful not to break them. The centre console is held in by 6 screws plus four that hold the Gear boot in.
First remove the back half which is held in by two screws located in the back compartment.
Once you remove that piece there are two screws at the start of the next piece and two more on the side above where your feet sit.
Lift the piece up and remove the four screws that hold the gear stick boot to the centre console.
Clean and mask them up.

^Pro masking
The paint wasn't the best quality but came out amazing
The trick was really really light first coat, like really light. Extremely light. This gave the paint something to stick to. Next a I applied 3-4 coats plus 2-3 coat of clear. Which is extremely important was it waterproofs and protects the paint from getting damaged. But most importantly it give I nice smooth touch finish.

I left the pieces over night to dry and put them back in the next day.
Tip: Remove your masking around the edges before the paint dries. On the pieces that I removed the masking when it was dry it took some of the paint away from the place I didn't want it to.
The result
Messy car

Clean Car

You might notice my panel aren't aligned. Thats because I haven't screwed them in as I'm putting some LED's in within the next week and need the access.

The Cost
Goof-Off: $10-15 (depending on can size)
Rust O-Oleum: around $10 (depending on whether you get 2x paint + primer or just the paint.
Fiddly Bits: $3.80 per can. I brought 3, the second can become faulty and splattered everywhere so I only got to use half of the can.
Clear Coat: $8-15 depending on the brand, I used Duplex Clear Gloss. I recommend if you paint the dash itself to get matte clear coat or something to reduce the glare.