dennisdwiky
Member
Hey guys thought id make a DIY on how to install lowered springs.. i tried looking for one but no bish.. pretty straight forward install will probably take about 30mins to 1hr to install with a help of a friend.. This is my first time making a DIY and hopefully itll help someone ")
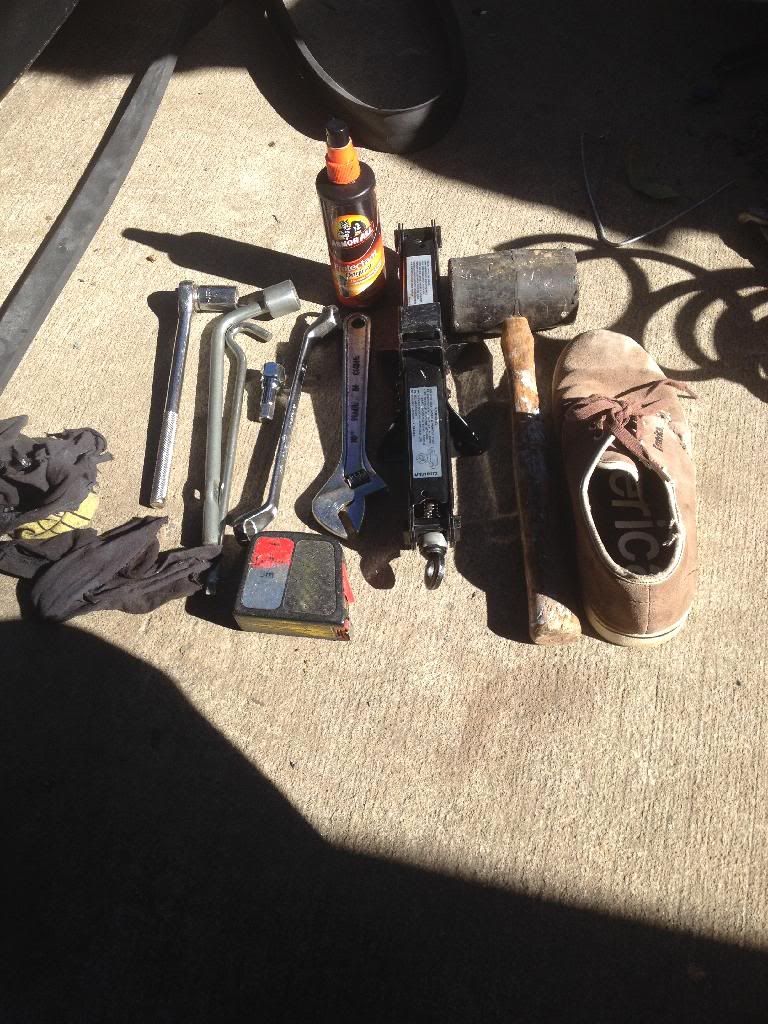
First off, Tools you will need
17mm Socket and Ring Spanner i think its called..
Rubber Mallet
WD-40
Wrench
Jack
Flat Head screwdriver
Spring Compressors (i didnt use it because im changing from low springs to superlows.. Use this for safety purposes)
Shoe
First, Jack up the car, make sure you use jack stands for safety.
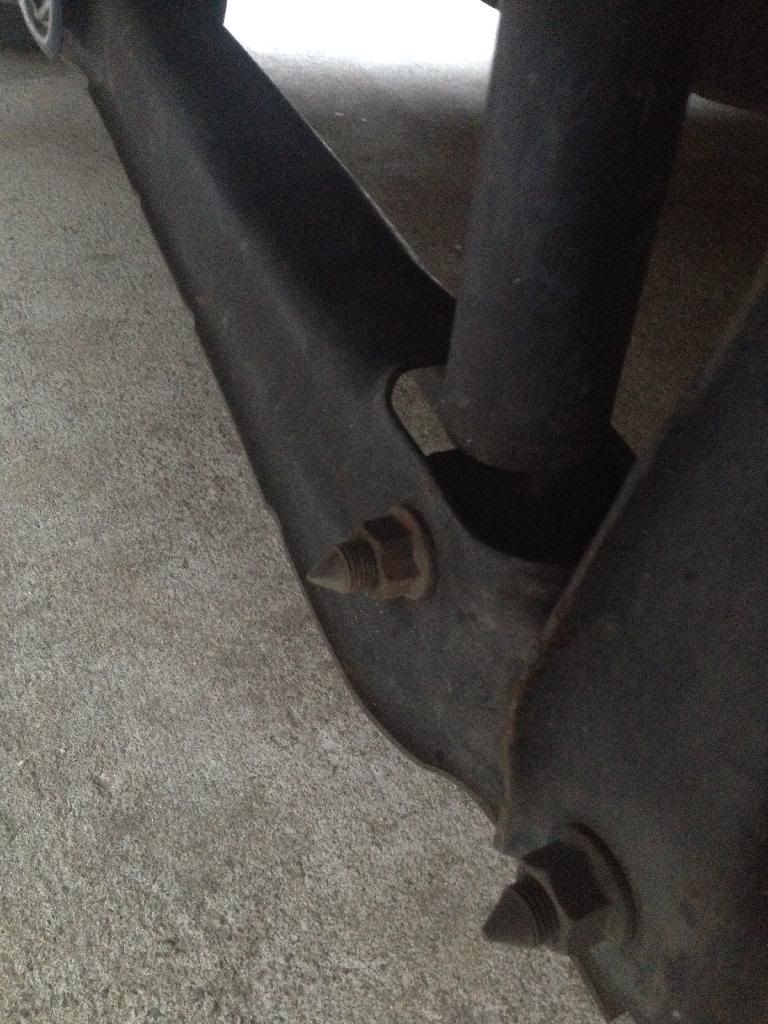
I did my rear springs first, what you have to do is There are two set of screws thats holding the springs in place, 2 on top and 1 at the bottom, i find it easier to undo the bottom bolt first, to do this i used a 17mm ring spanner and a rubber mallet, You may find that the bolt will be extremely tight if it hasnt been tampered with, so use WD-40 if needed
once the bolt is taken out, take out the top two bolts in the boot,
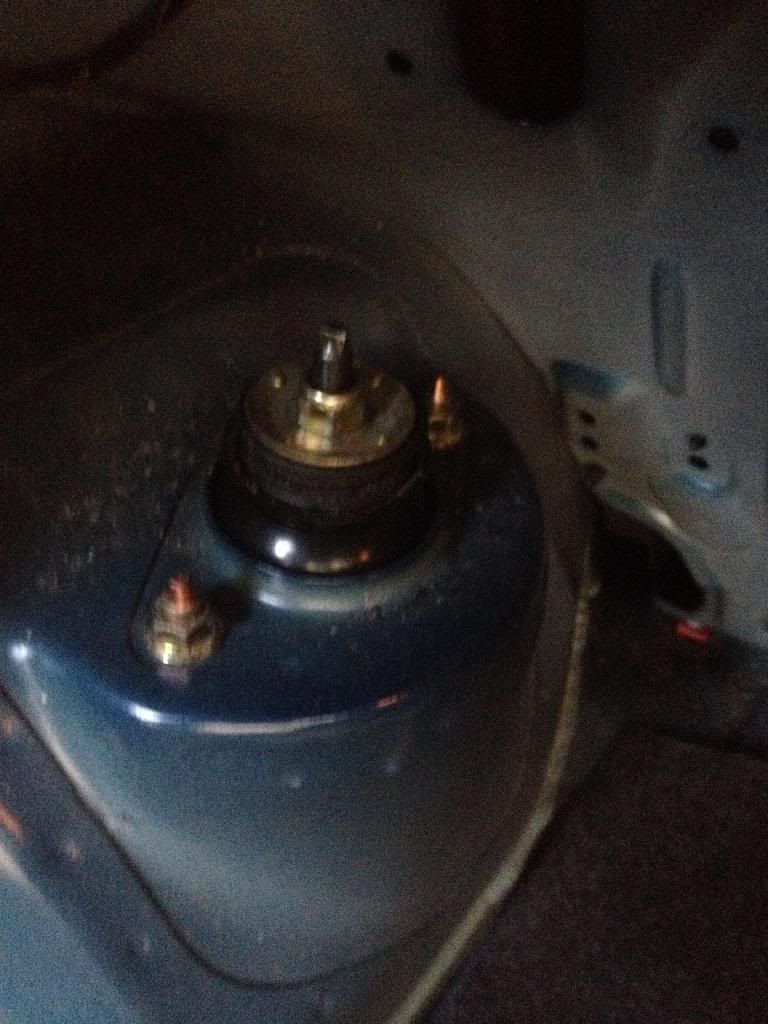
to access this, take out the carpeted plastic moulding on the side of the boot, theres a few pop clips all around, pop them and take it out and you will see the spring
Note: You may find it a bit hard to take the springs out, what i did was i put pressure on the drum brakes far enough down so that you can take the springs and shocks out
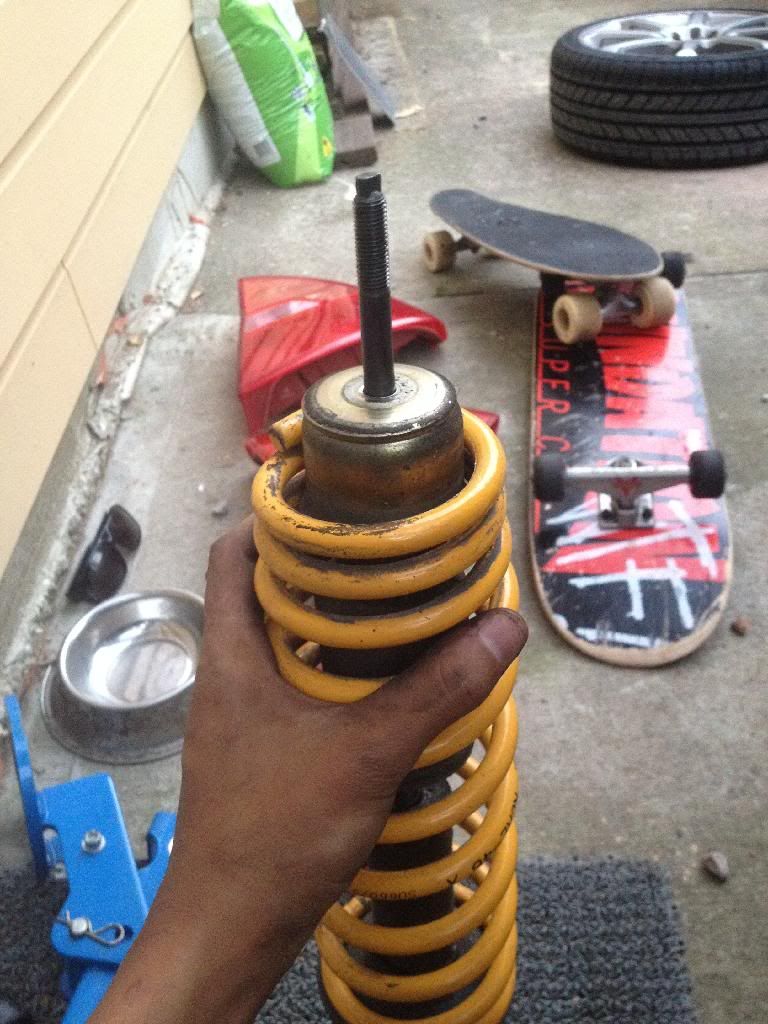
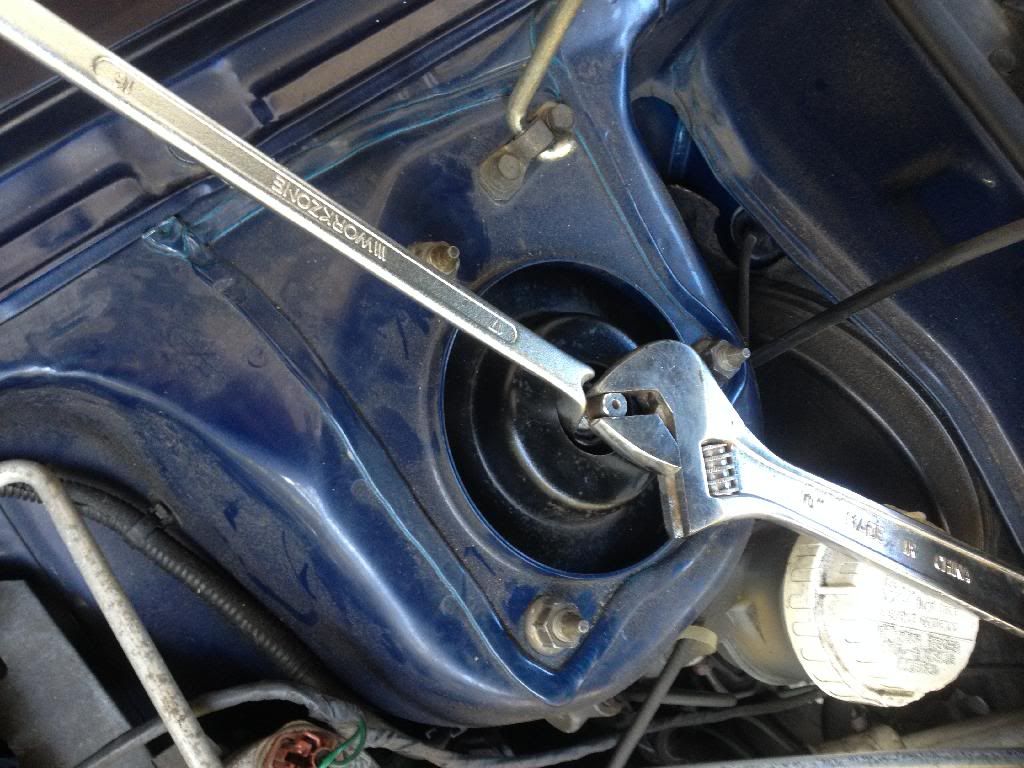
Once it is out, you have to take out the top hat of the shocks, to do this i used a wrench and a ring spanner to undo it. If you are changing it from stock springs, you have to compress the springs before taking out the top hat as it is on heaps of pressure and if not done so, you may injure yourself as it will fly out of the shock like a wild pig.
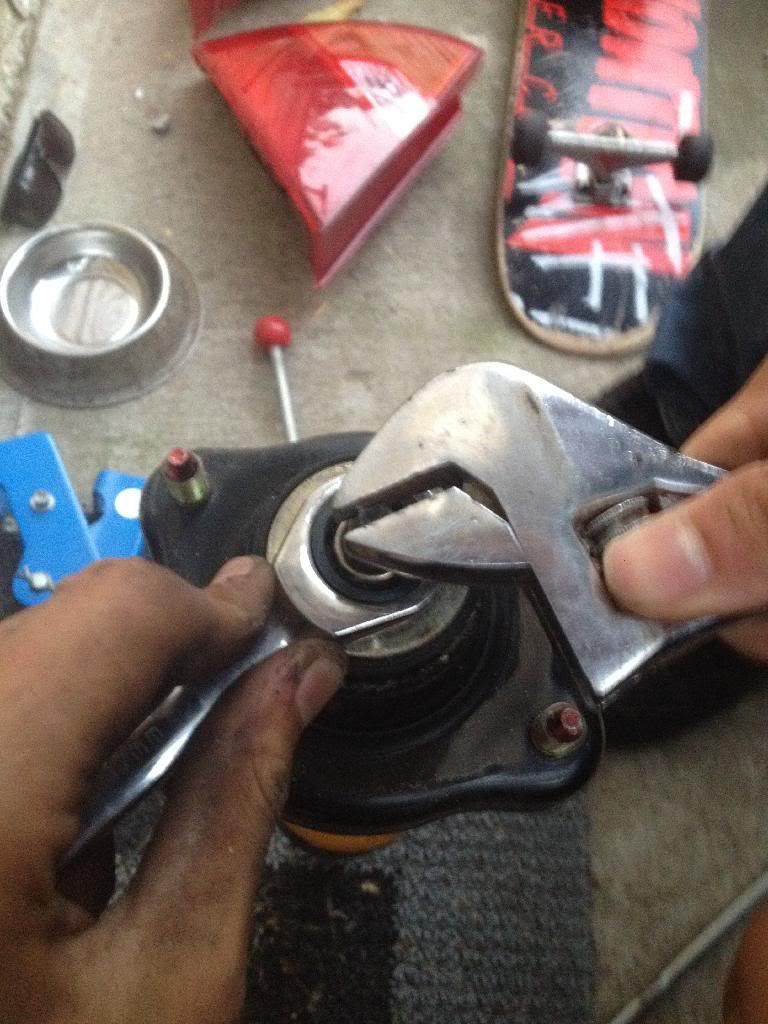
The wrench is there to stop the shock from spinning around while the nut is being spun around.
Take the tops out, put the new springs on and reverse the process. Do the same on the other side.
what you may find is that the bolt has a red mark on the nut, when you tighten this, i always try to match up the two marks together
For the front, there are 5 bolts holding the shock in, 3 at the top in the engine bay and 2 at the bottom behind the rotors. again, i like to do the bottom first, using the 17mm spanner the same way with the rears
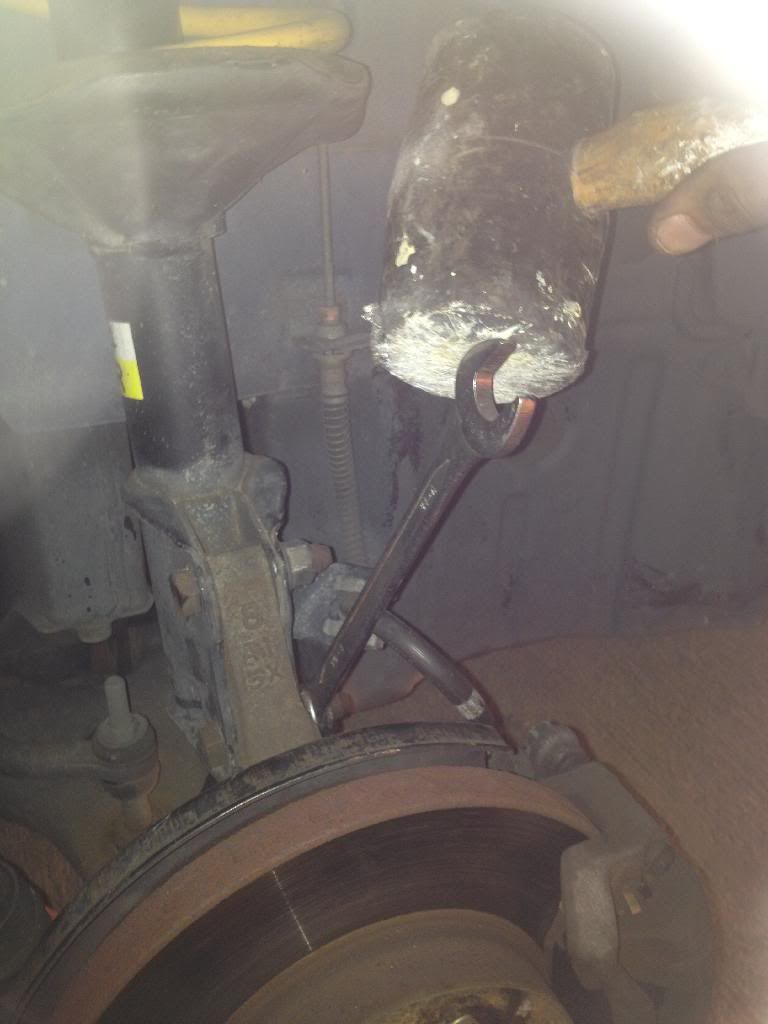
once the 2 bolts are taken out, the brake line is held by the clip, to open it, i used a flat head screwdriver and the rubber mallet and worked on it from one side to another (i didnt get a photo of this but make sure you do this before removing the top bolts)
take out the 3 bolts in the engine bay and take out the shock
to remove the top hat of the shock, i used a deeper spanner (shown in the first pic) and a wrench, the same way as the rears. again, If you are changing it from stock springs, you have to compress the springs before taking out the top hat (The picture shows it with the shocks in the car because i forgot to take a picture)
Put the new springs in and do the reverse. Do the same on the other side
What i did was i armorall the CV boot and the rubbers on the shocks, at the bottom and at the top. you dont have to do this but this is good for the rubbers
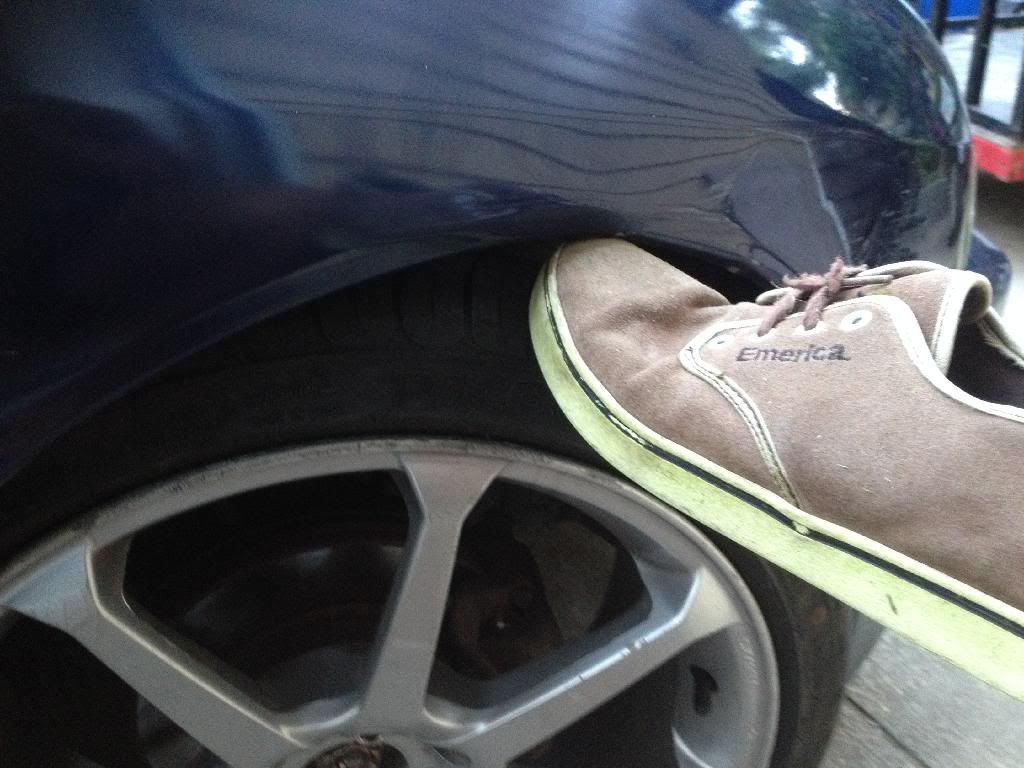
All done and give it a moment to let the springs settle a little bit and you should see the difference in height in the wheel gap or the height of the car from the ground, u can also measure using your shoe.. if the shoe fits, it needs moar lows
Hope this helps someone.. :thumbup:
First off, Tools you will need
17mm Socket and Ring Spanner i think its called..
Rubber Mallet
WD-40
Wrench
Jack
Flat Head screwdriver
Spring Compressors (i didnt use it because im changing from low springs to superlows.. Use this for safety purposes)
Shoe
First, Jack up the car, make sure you use jack stands for safety.
I did my rear springs first, what you have to do is There are two set of screws thats holding the springs in place, 2 on top and 1 at the bottom, i find it easier to undo the bottom bolt first, to do this i used a 17mm ring spanner and a rubber mallet, You may find that the bolt will be extremely tight if it hasnt been tampered with, so use WD-40 if needed
once the bolt is taken out, take out the top two bolts in the boot,
to access this, take out the carpeted plastic moulding on the side of the boot, theres a few pop clips all around, pop them and take it out and you will see the spring
Note: You may find it a bit hard to take the springs out, what i did was i put pressure on the drum brakes far enough down so that you can take the springs and shocks out
Once it is out, you have to take out the top hat of the shocks, to do this i used a wrench and a ring spanner to undo it. If you are changing it from stock springs, you have to compress the springs before taking out the top hat as it is on heaps of pressure and if not done so, you may injure yourself as it will fly out of the shock like a wild pig.
The wrench is there to stop the shock from spinning around while the nut is being spun around.
Take the tops out, put the new springs on and reverse the process. Do the same on the other side.
what you may find is that the bolt has a red mark on the nut, when you tighten this, i always try to match up the two marks together
For the front, there are 5 bolts holding the shock in, 3 at the top in the engine bay and 2 at the bottom behind the rotors. again, i like to do the bottom first, using the 17mm spanner the same way with the rears
once the 2 bolts are taken out, the brake line is held by the clip, to open it, i used a flat head screwdriver and the rubber mallet and worked on it from one side to another (i didnt get a photo of this but make sure you do this before removing the top bolts)
take out the 3 bolts in the engine bay and take out the shock
to remove the top hat of the shock, i used a deeper spanner (shown in the first pic) and a wrench, the same way as the rears. again, If you are changing it from stock springs, you have to compress the springs before taking out the top hat (The picture shows it with the shocks in the car because i forgot to take a picture)
Put the new springs in and do the reverse. Do the same on the other side
What i did was i armorall the CV boot and the rubbers on the shocks, at the bottom and at the top. you dont have to do this but this is good for the rubbers
All done and give it a moment to let the springs settle a little bit and you should see the difference in height in the wheel gap or the height of the car from the ground, u can also measure using your shoe..
if the shoe fits, it needs moar lows
Hope this helps someone.. :thumbup: